Metaversal is a Bankless newsletter for weekly level-ups on NFTs, virtual worlds, & collectibles
Dear Bankless Nation,
Bueno builds no-code tools that help NFT creatives customize and launch profile picture (PFP) collections.
The project’s mission? To provide a “seamless NFT creation experience, from generation to mint in a few easy steps.”
I’ve been wanting to try Bueno for a while, and this week it dawned on me that I could put the platform to the test by uploading CC0 assets and then seeing if the site’s UX really was seamless from start to finish.
Spoiler alert, it was. With no coding experience, I was able to launch an experimental PFP collection with Bueno’s art and smart contract tools very quickly and without running into a single snag.
Take note, then, because you can too — for today’s Metaversal, let’s walk you through how to create your own PFP collection with Bueno, plus some other considerations worth keeping in mind.
-WMP
🙏 Sponsor: Nexo - Buy BTC, ETH, and 40+ cryptocurrencies and keep your assets safe.✨
Building a PFP collection with Bueno
What is Bueno?
Right now, Bueno has two flagship no-code offerings that go hand in hand. They are the NFT Art Generator and the Smart Contract Deployer.
The NFT Art Generator makes it simple to upload art assets — like backgrounds, bodies, heads, and so forth — and then customize trait combinations and adjust rarity parameters so you can preview and set up your PFP collection exactly how you want.
Note, though, that using the Generator will only produce the finished visual art for your PFP collection. The cost of exporting this art is 0.0001 ETH per PFP, so creating a 1k collection would cost you 0.1 ETH, a 10k collection would cost you 1 ETH, etc.
To actually launch a generated collection as NFTs, you could then head to Bueno’s Smart Contract Deployer, which lets creators set up a unique ERC721A smart contract to underpin their PFPs. In contrast to the Generator, the Deployer is free to use besides gas, though Bueno will keep 5% of any primary sales made by collections it helps deploy.
What you need to use Bueno
To get started with Bueno, you’d first want to prepare a few things:
- Trait assets
- ETH for Bueno’s art generation service — e.g. 100 PFPs costs 0.01 ETH
- A little extra ETH to cover gas, namely for deploying your contract
You can source trait assets however you like, whether that’s by digitally handdrawing them, commissioning an artist or artists to design them, or sourcing them from CC0 “no copyright reserved” projects.
To streamline my test of Bueno, I used the lattermost approach and downloaded assets from the GitHub of the tiny dinos NFT project.
I deleted some traits, flipped others, edited names, and recolored some stuff so that when I went to Bueno all I needed to do was upload a folder of JPGs. However, Bueno makes it easy to add or remove traits on the fly, so no worries about having everything totally perfect beforehand.
How to use Bueno’s Generator
1) Go to Bueno’s Generator and connect your wallet
- Supported wallets include MetaMask, WalletConnect, Rainbow, and Coinbase Wallet
2) Use the UI to start a new collection
- You’ll be prompted to name your collection, set a supply, and upload your trait asset files
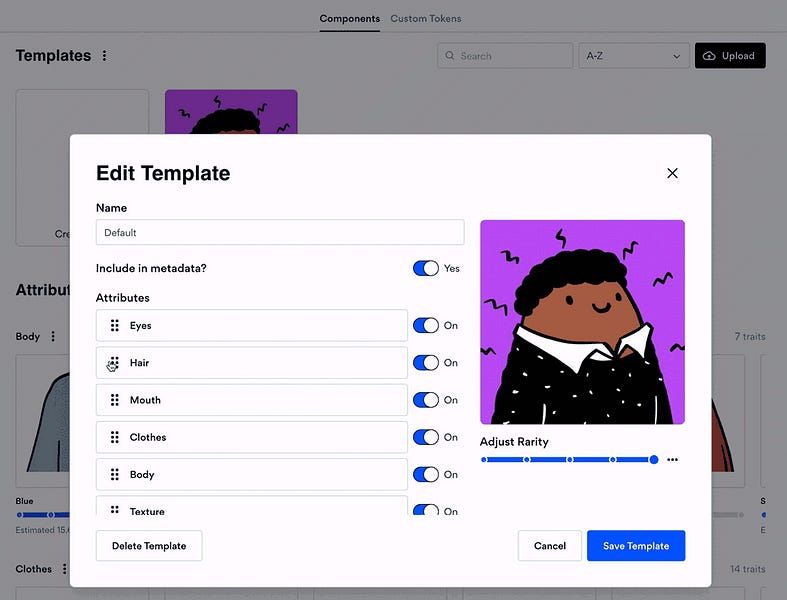
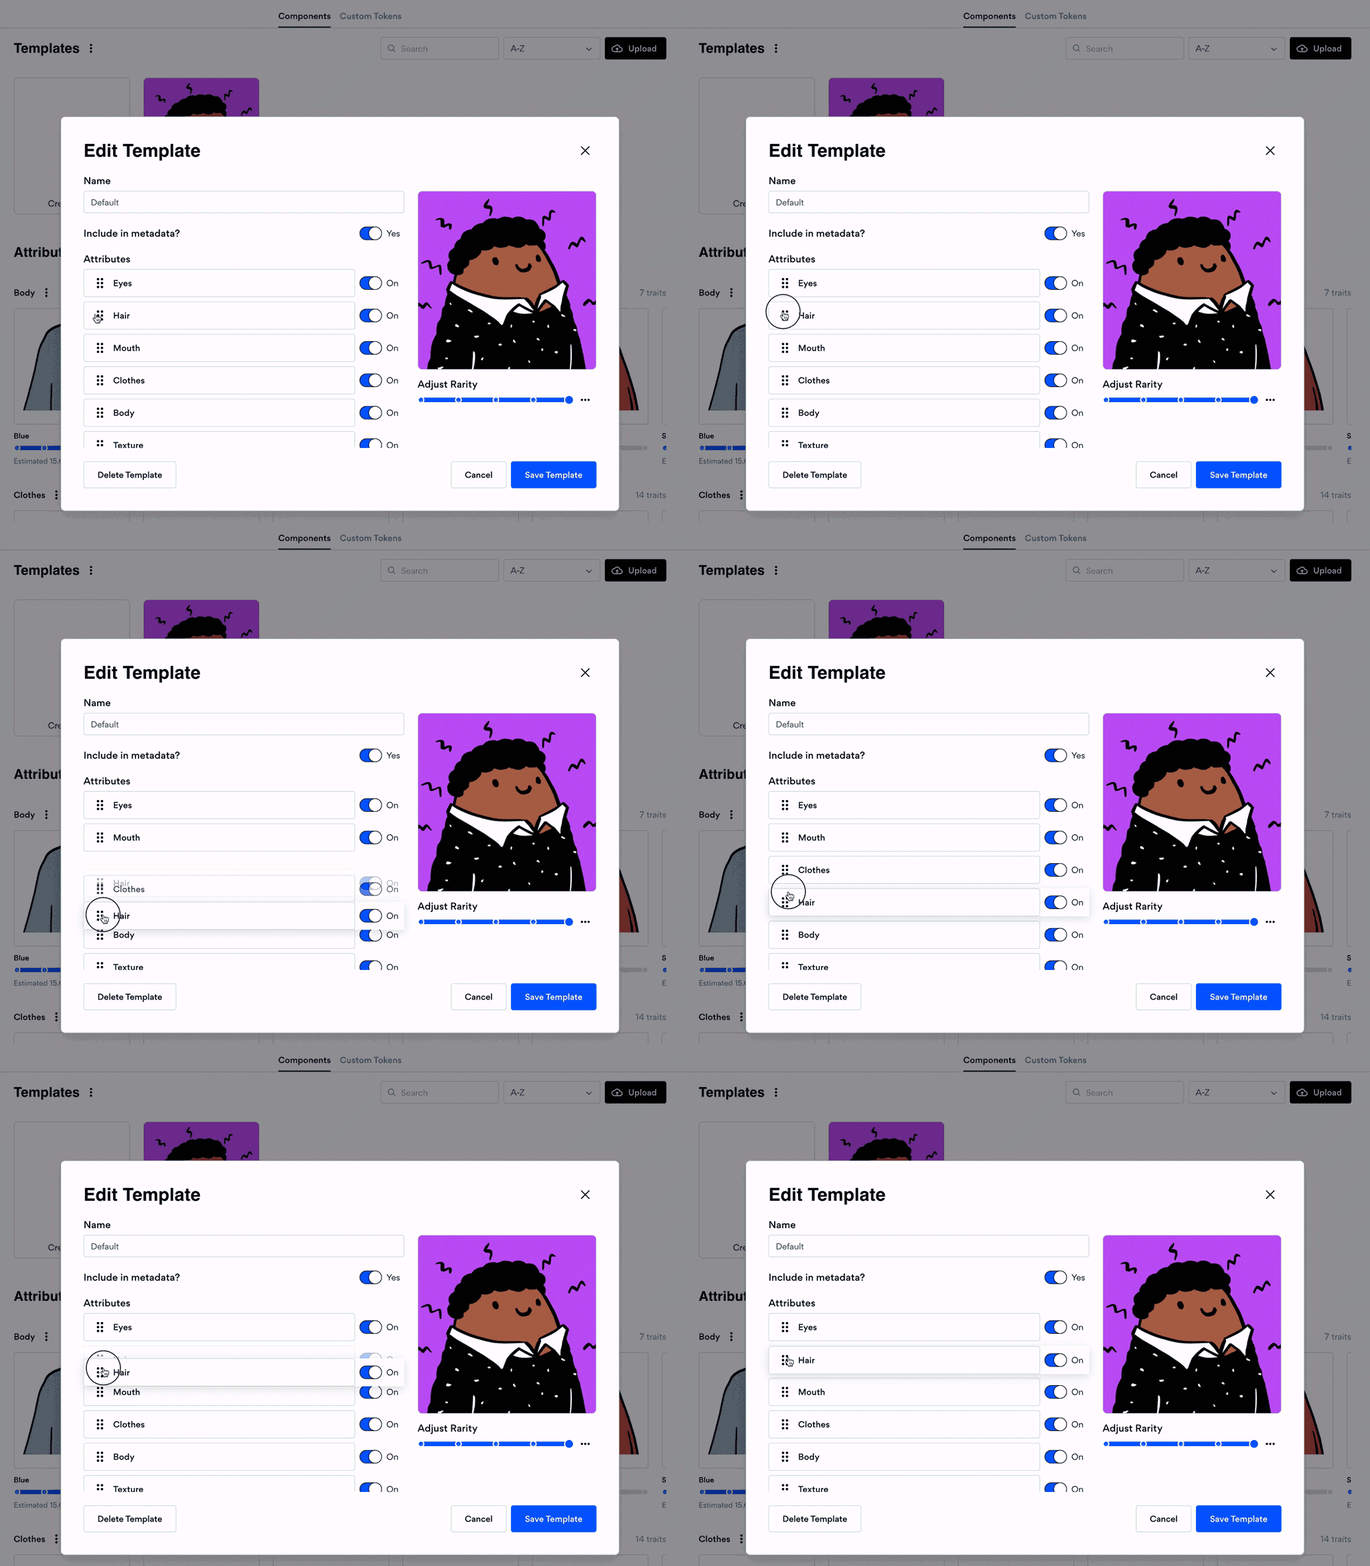
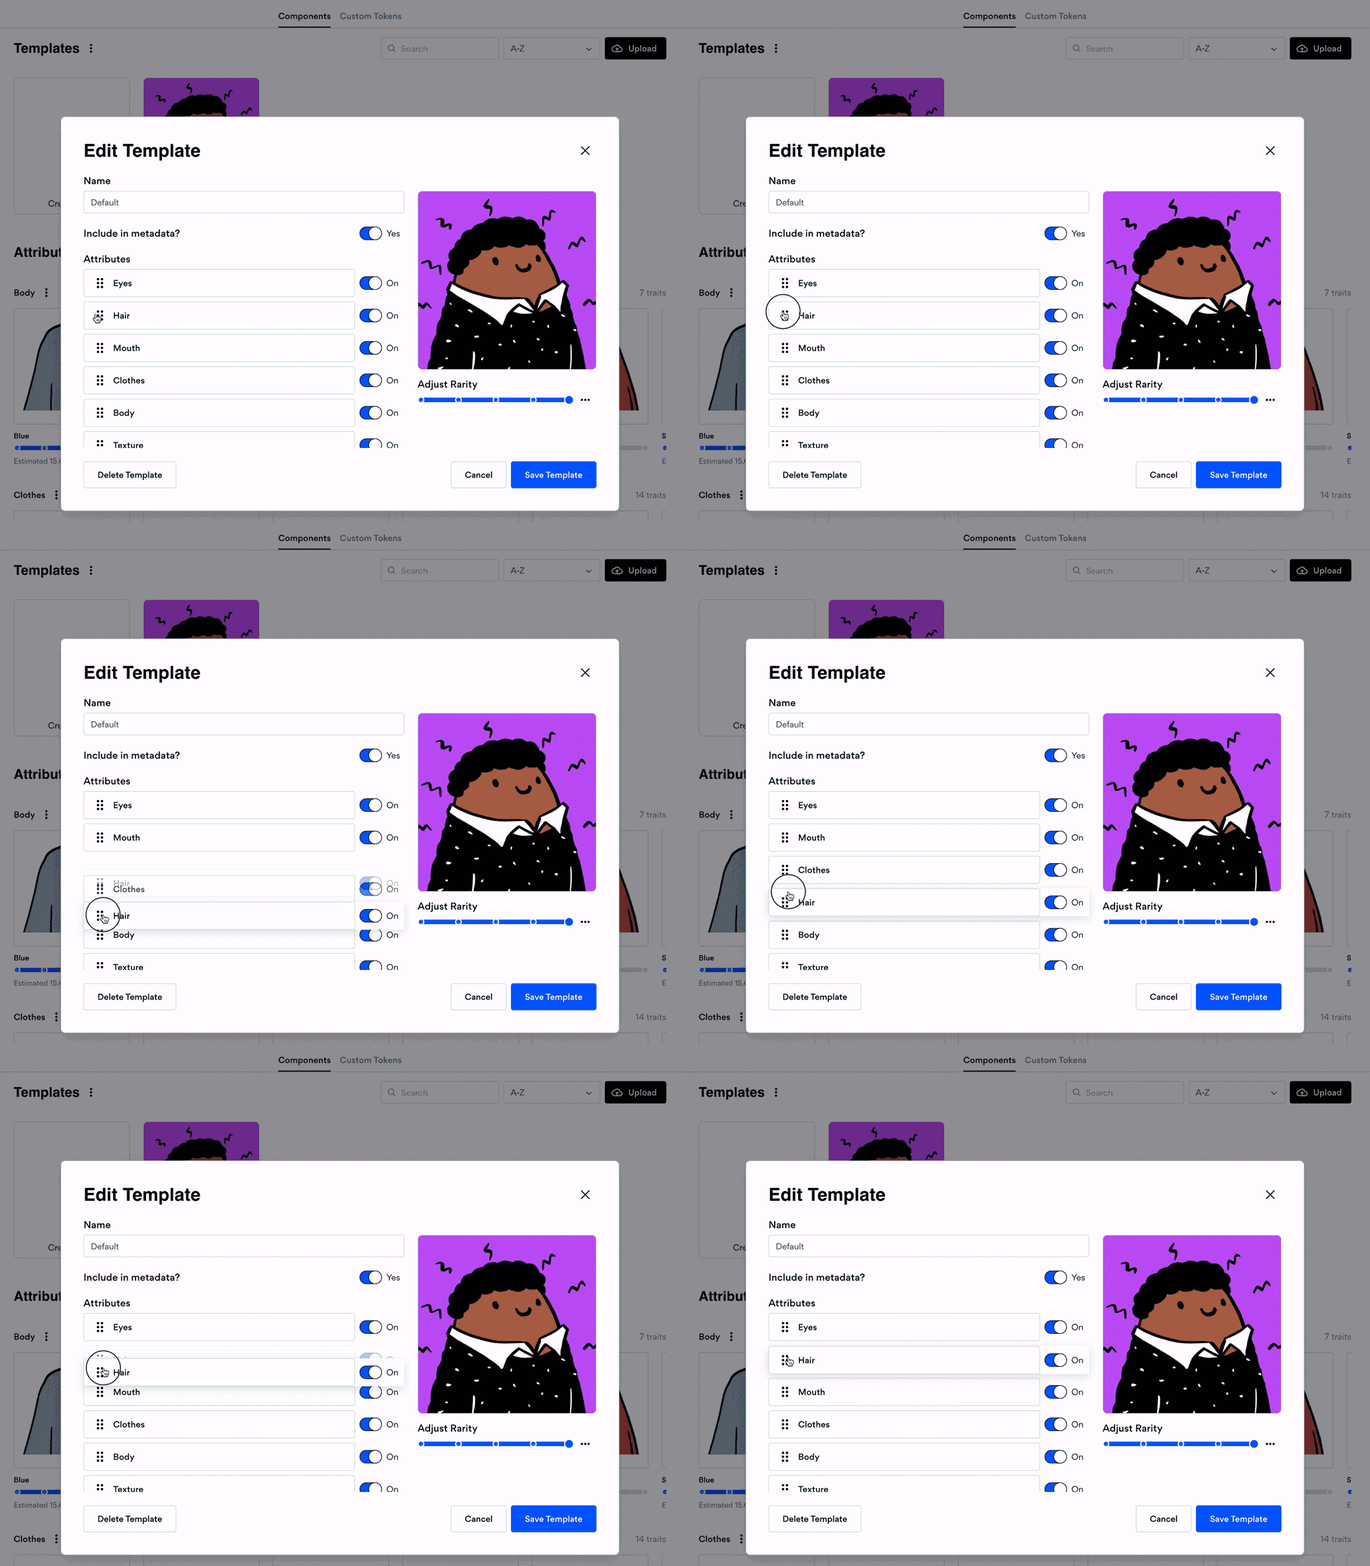
3) Adjust the trait layers of your default template
- Bueno’s template system lets you layer traits in specific ways, so use this to set the basic visual tone for how you want all your PFPs to turn out
4) Adjust your Rules, Tags, and Custom Tokens
- As you preview and tinker with your collection in the Generator, you may notice that some specific trait combinations don’t look great together — accordingly, in the Generator’s “Manage” dashboard you’ll find a Rules center where you can add rules to prevent wonky trait combos
- The Generator also offers a Tag system, which can be used to group certain token traits together as specific attributes
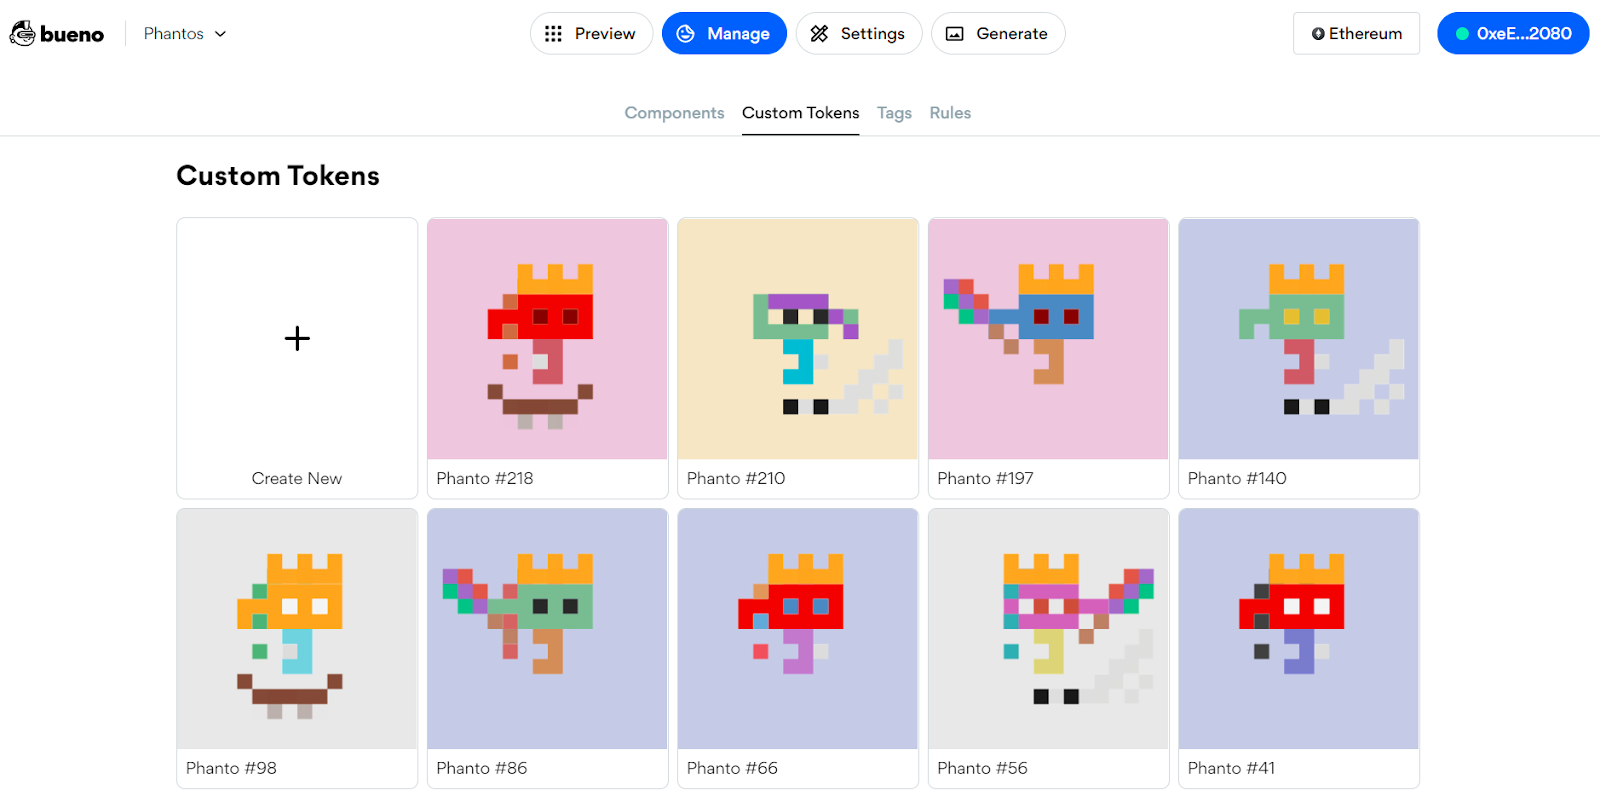
- Bueno additionally makes it possible to go through collection previews and set aside awesome custom PFPs you find so you can regenerate new previews over and over again while retaining your favorite finds for your final collection — for example, below you can see some of the customs I set aside for my experimental collection
5) Finalize your collection’s rarity levels
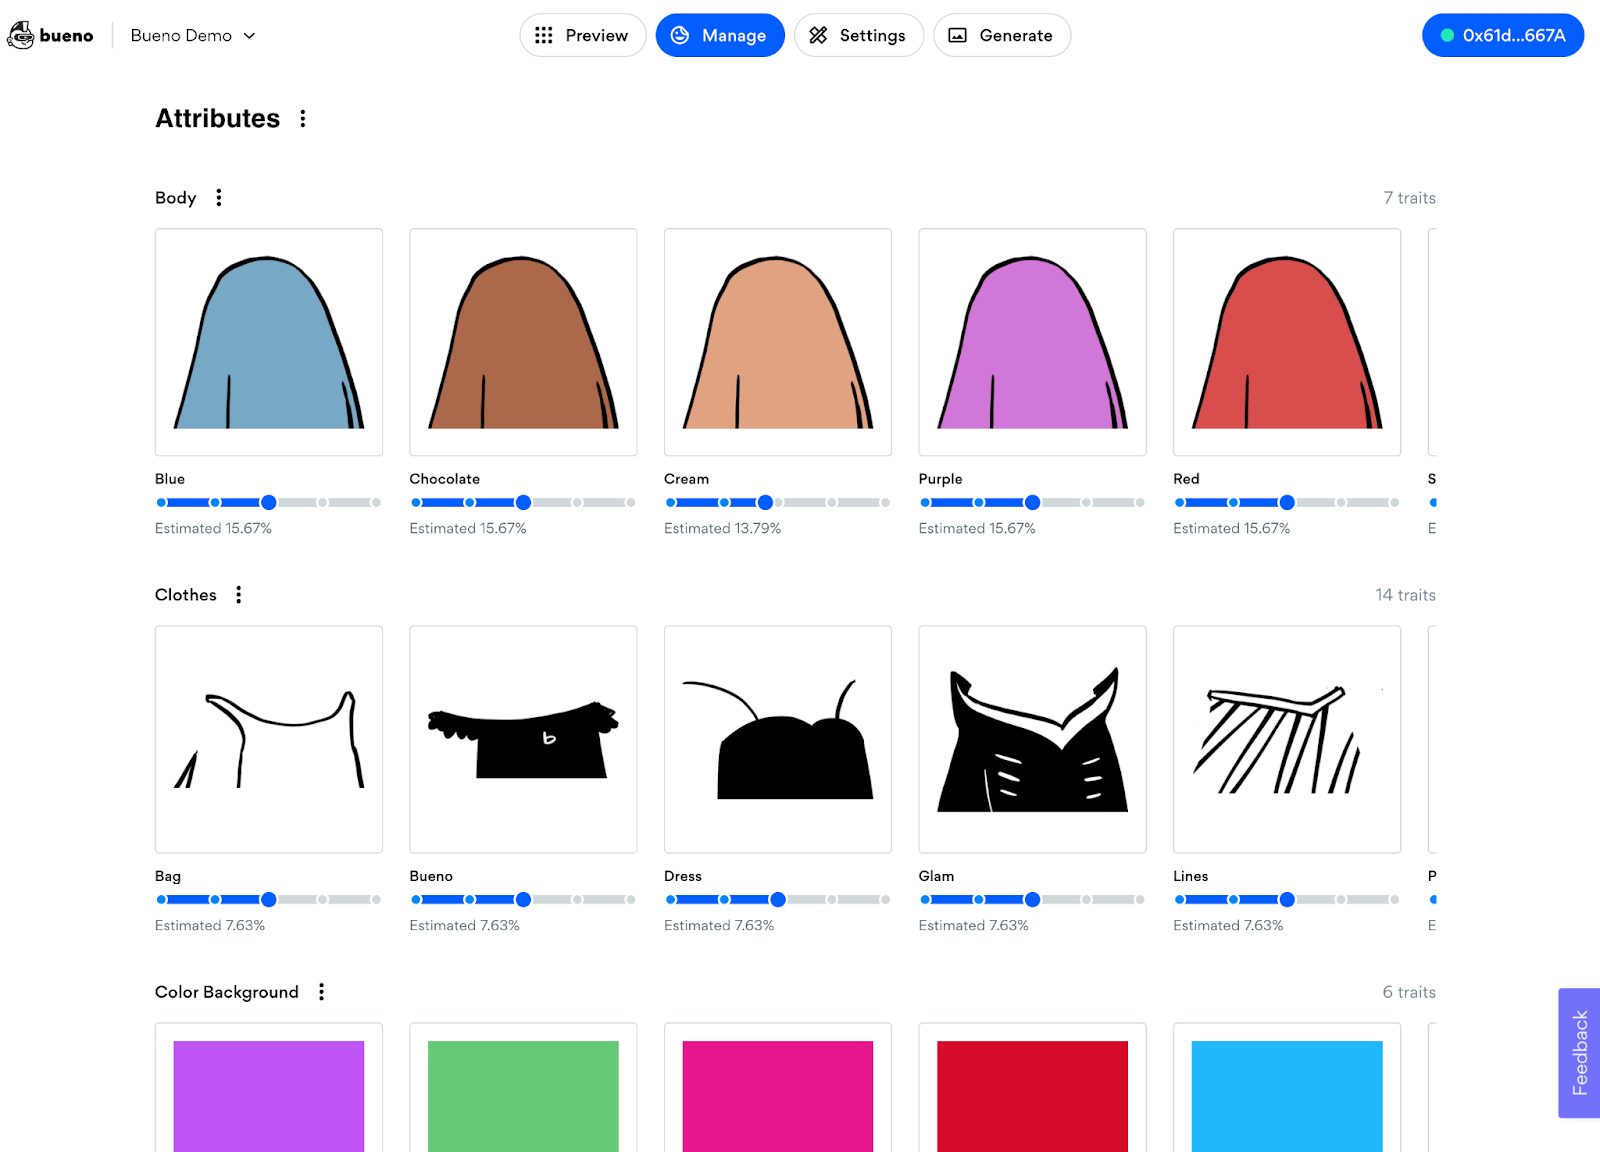
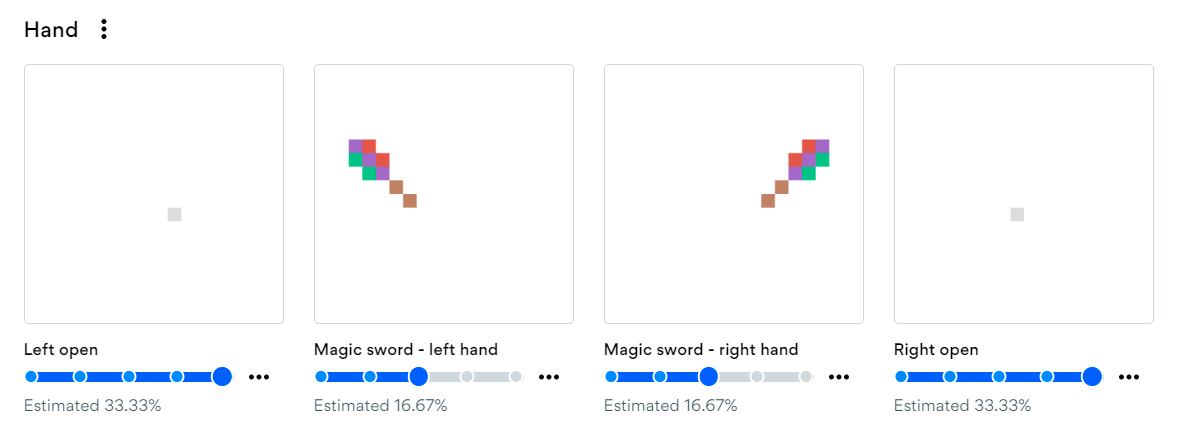
- In the Components section of the Generator, you set specific rarity levels for specific trait appearances in all of your trait categories — for example, below note how I used the UI’s blue sliders to make “magic swords” rarer than “open hands” in my collection
6) Generate your art assets and pay
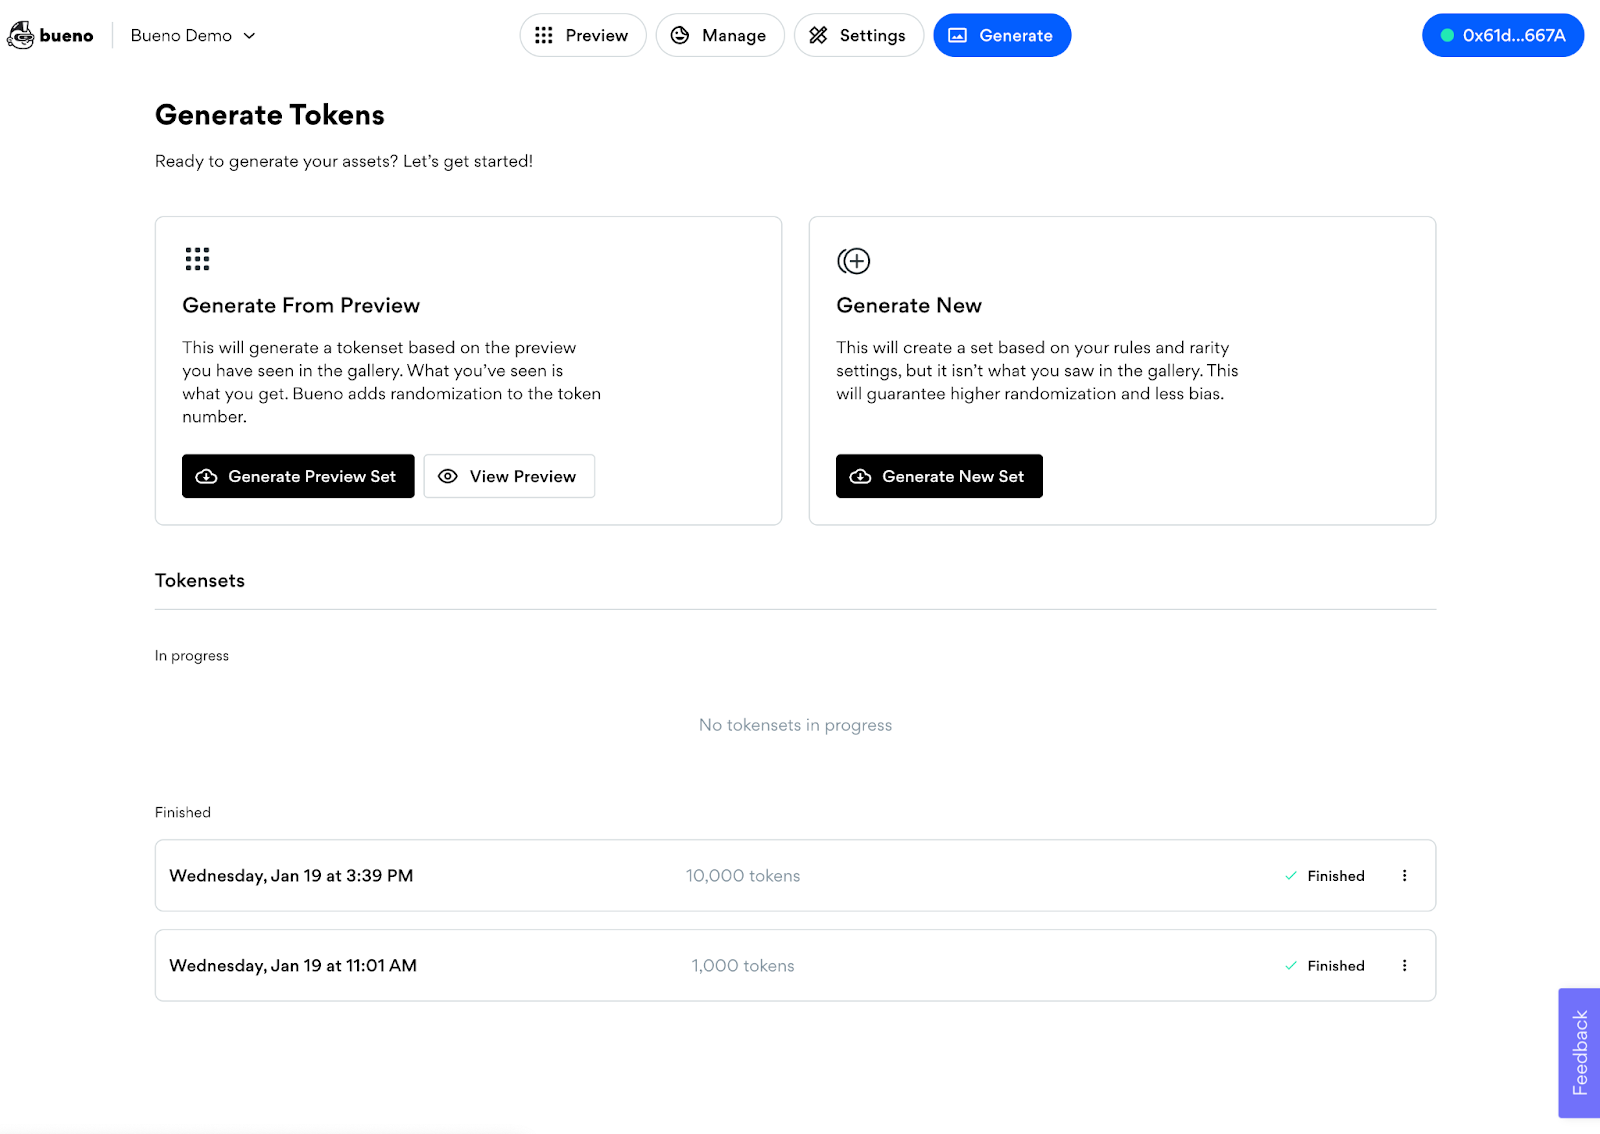
- When your collection is fully prepped, you can head over to the “Generate” dashboard and create your collection from your existing preview collection or generate a random new one per all your specified parameters — then just pay Bueno’s generation fee and you’ll be ready to move on
- Once you’ve generated your art, Bueno will present an “Upload to IPFS” button that you can use to store your collection’s metadata
How to use Bueno’s Deployer
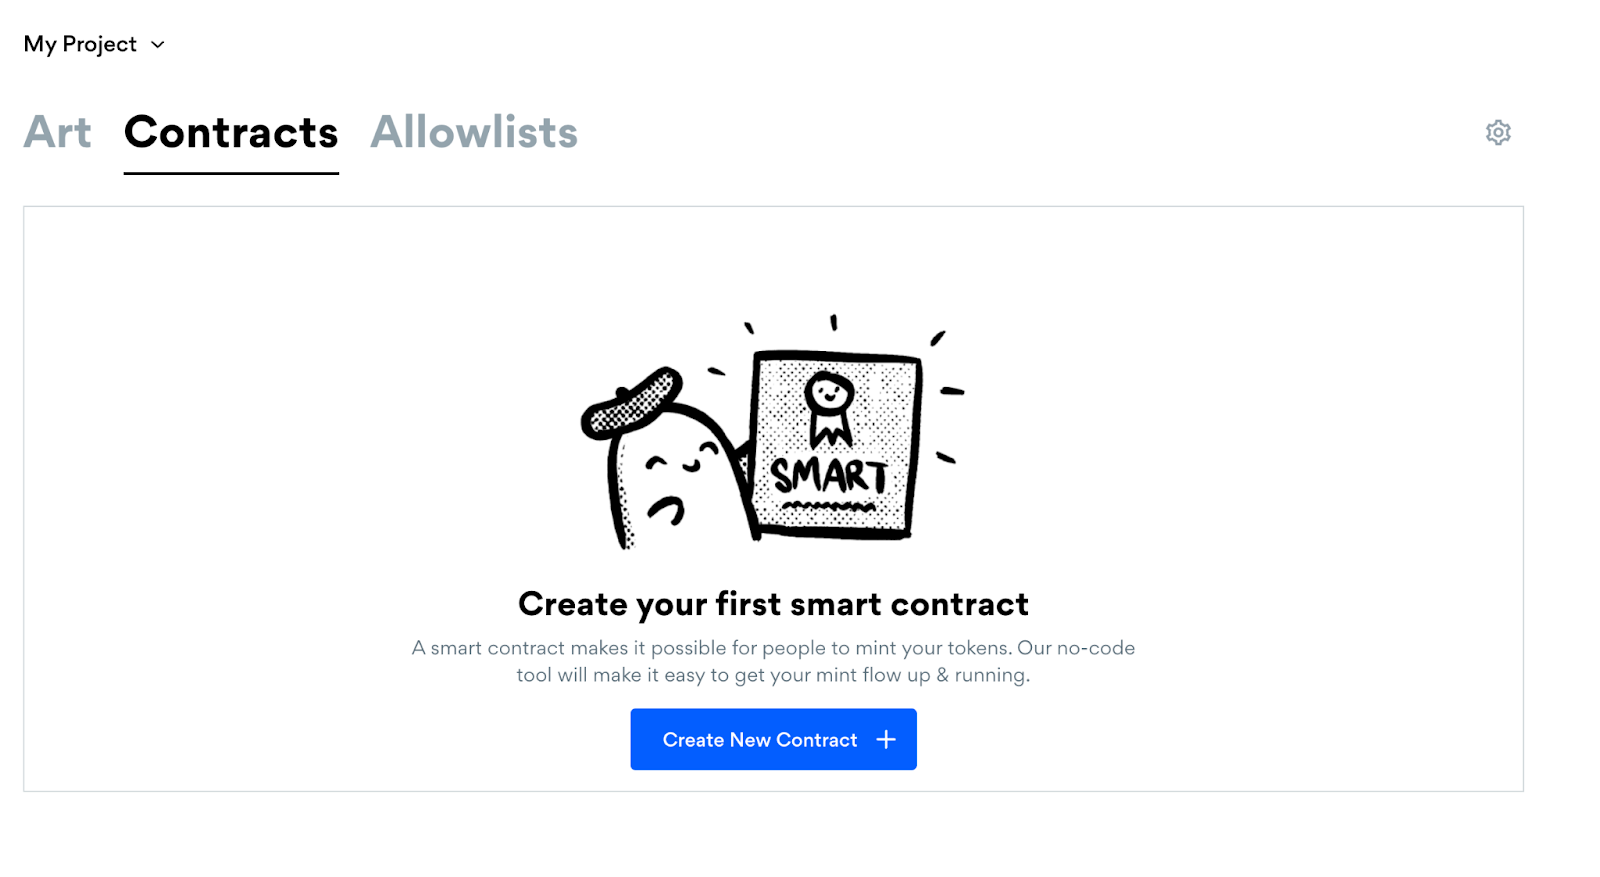
1) Go to Bueno’s Deployer (and connect your wallet if needed)
- Once you’re into the main UI, you’ll see a “Contracts” tab and below that a “Create New Contract” button — click on this latter button to proceed
2) Configure your contract’s details
- On the following screen, choose your desired network (Ethereum and Polygon are currently supported)
- Input your contract name and token symbol
- Select your art source (Bueno offers a dropdown menu of art sets you’ve created through the Generator, you’ll choose from here)
3) Configure your contract’s pricing info
- On the next screen, input your pre-sale and allowlist parameters (if you want) and your collection’s public sale price, e.g. 0.01 ETH each — at this point in the process you can opt to implement per-wallet and per-transaction mint limits
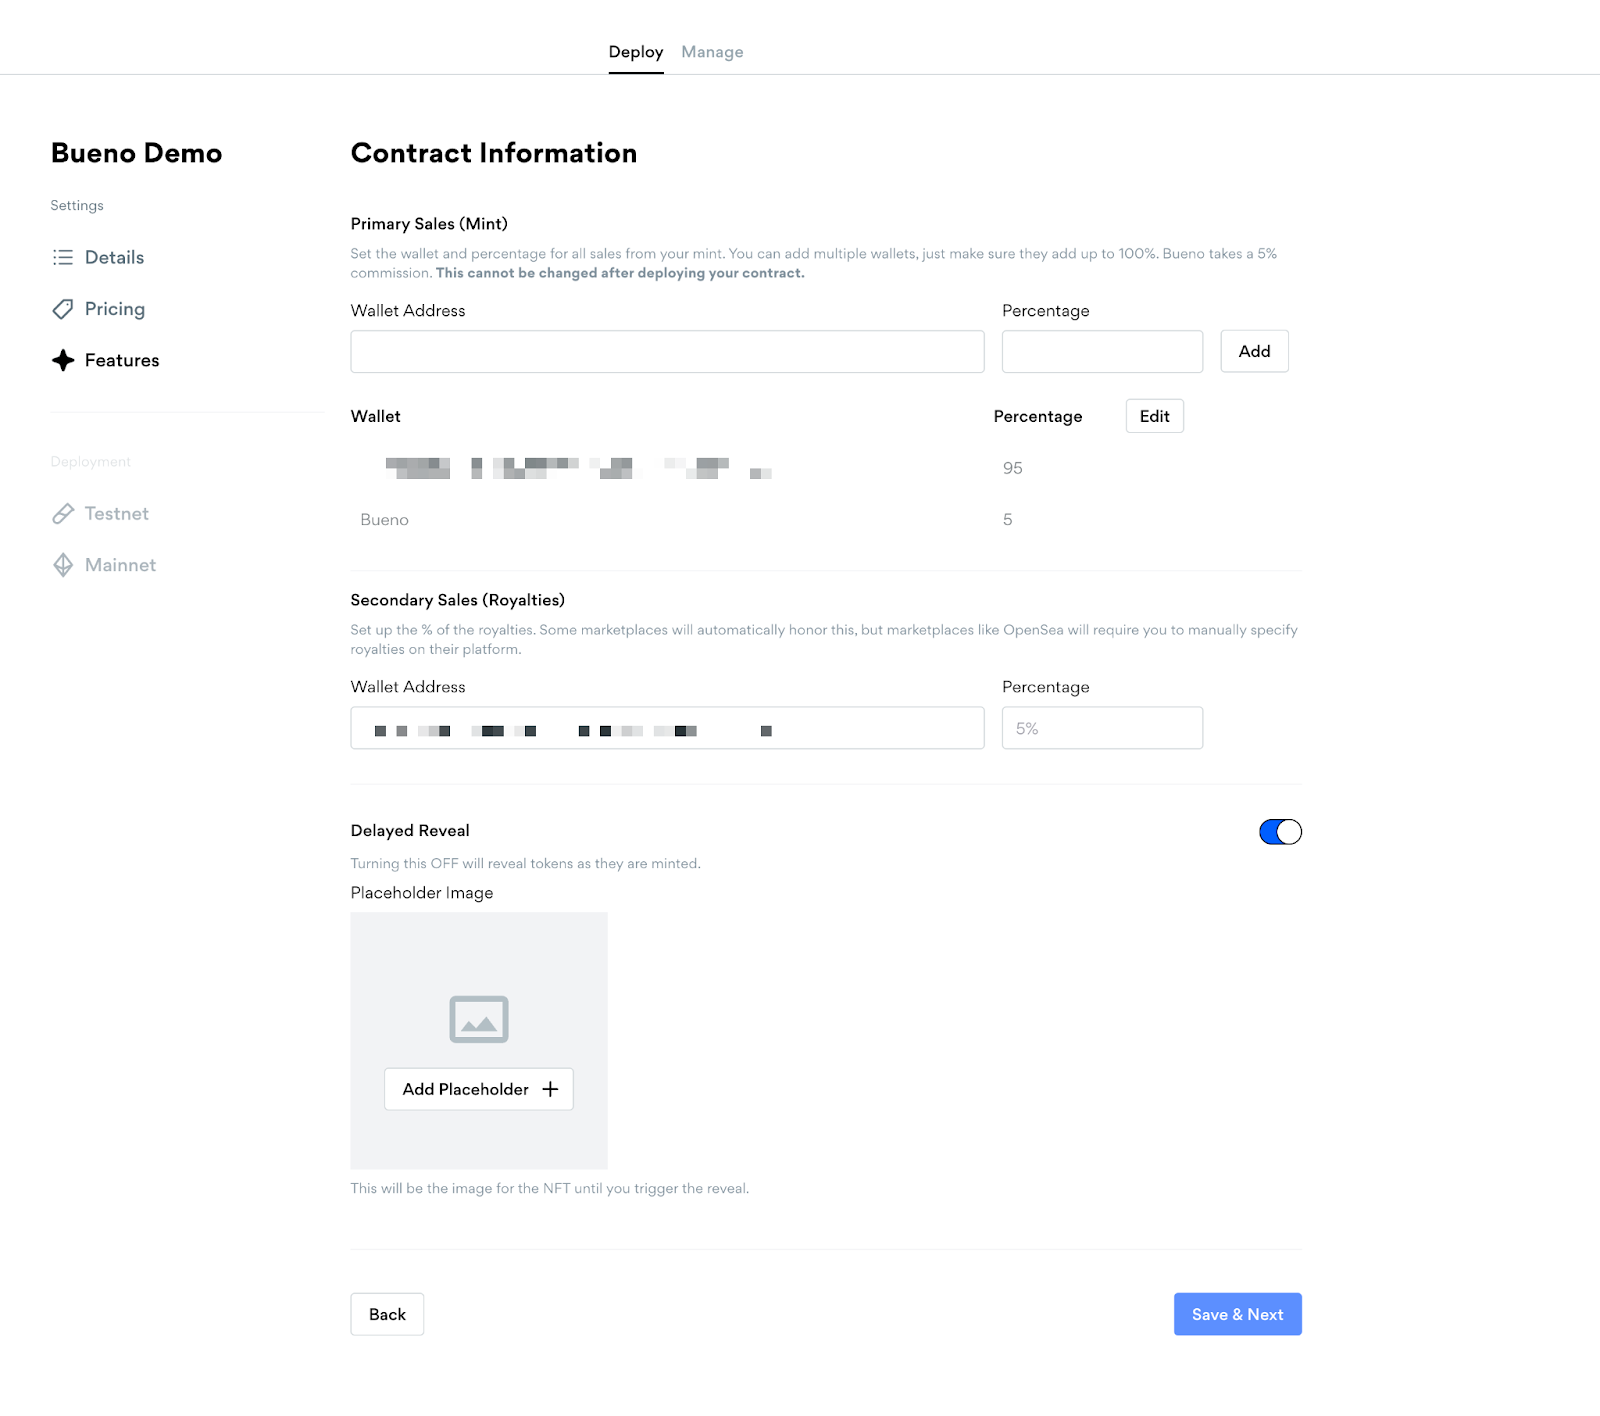
4) Set up your final features
- Before launching the Deployer will also let you configure primary sales allocations, secondary sale royalties, and whether or not you want to have a delayed reveal for your PFP art
5) Finish by deploying your contract
- To make sure everything checks out, Bueno lets you deploy your collection to Rinkeby first before moving on to Ethereum or Polygon — then once you’ve completed your mainnet deployment transaction your collection will be live on the blockchain, so make sure everything is set up exactly how you want it before proceeding with this step!
6) Use the “Manage” tab to manage your collection
- Once your PFP collection is deployed, you can use the Deployer’s Manage dashboard to manage your mint status (pre-sale, closed, public sale), your mint button embed, airdrops, contract withdraws, and more
Zooming out
I found Bueno incredibly easy to use. Everything worked smoothly, and I felt I had plenty of features to turn to for whatever I needed. This is one of the best built NFT projects I’ve ever seen, bar none. That said, my main takeaway after my test run has to do with what I would do differently.
Namely, I figured my experimental Bueno collection would only get a couple dozen all-time mints at best from friends and colleagues. I activated the public sale and went to create a basic OpenSea page accordingly, but when I checked again a few minutes later the collection had already minted out!
My advice, then? Don’t underestimate the power of Bueno, and be methodical with your mint parameters. Optimize your pre-sale, allowlist, and per-wallet and per-transaction mint limits to better take control of the pace of your mint from start to finish.
What’s next for Bueno
Bueno has two products in the works that you should know about: Bueno Forms and Microverse.
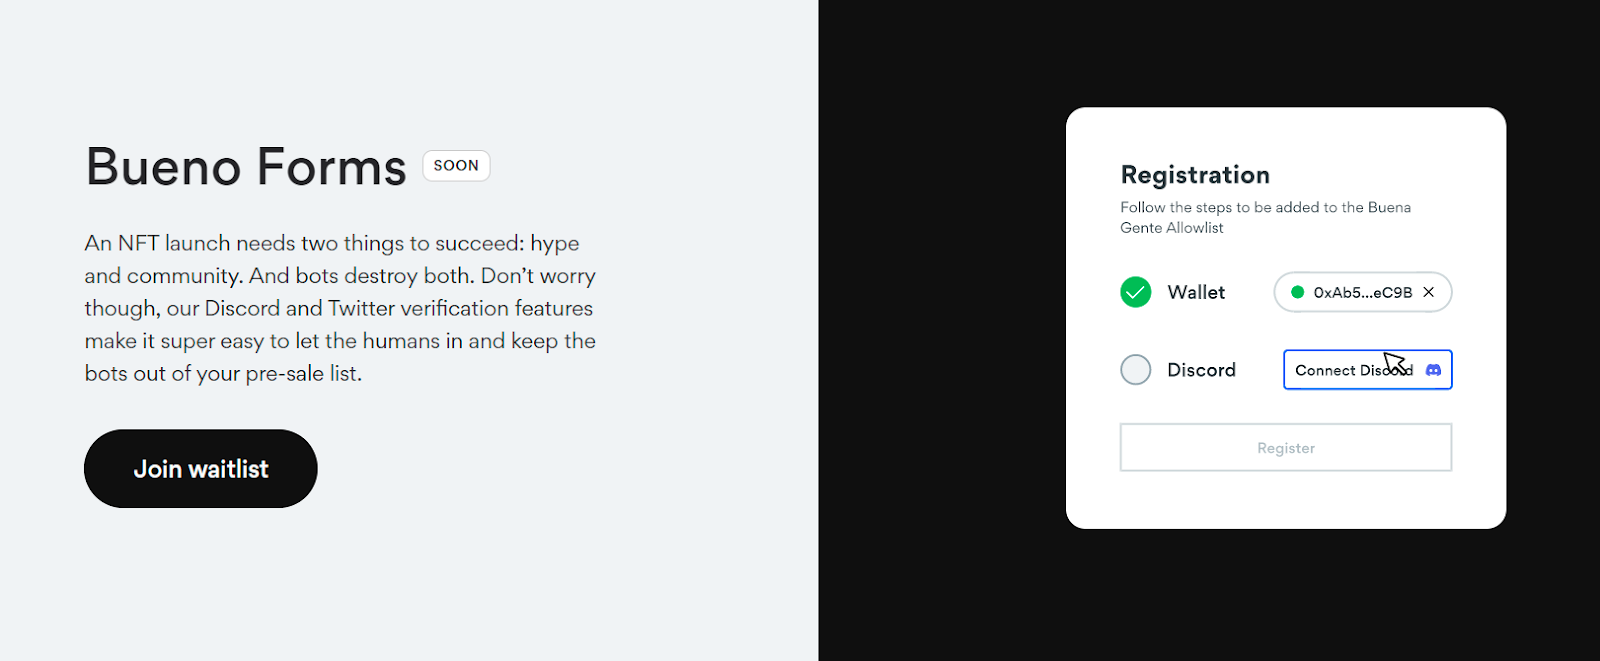
Bueno Forms is a bot buster, as it will offer NFT projects Discord and Twitter verification functionalities so they can protect their allowlists from being overwhelmed by nonhumans.
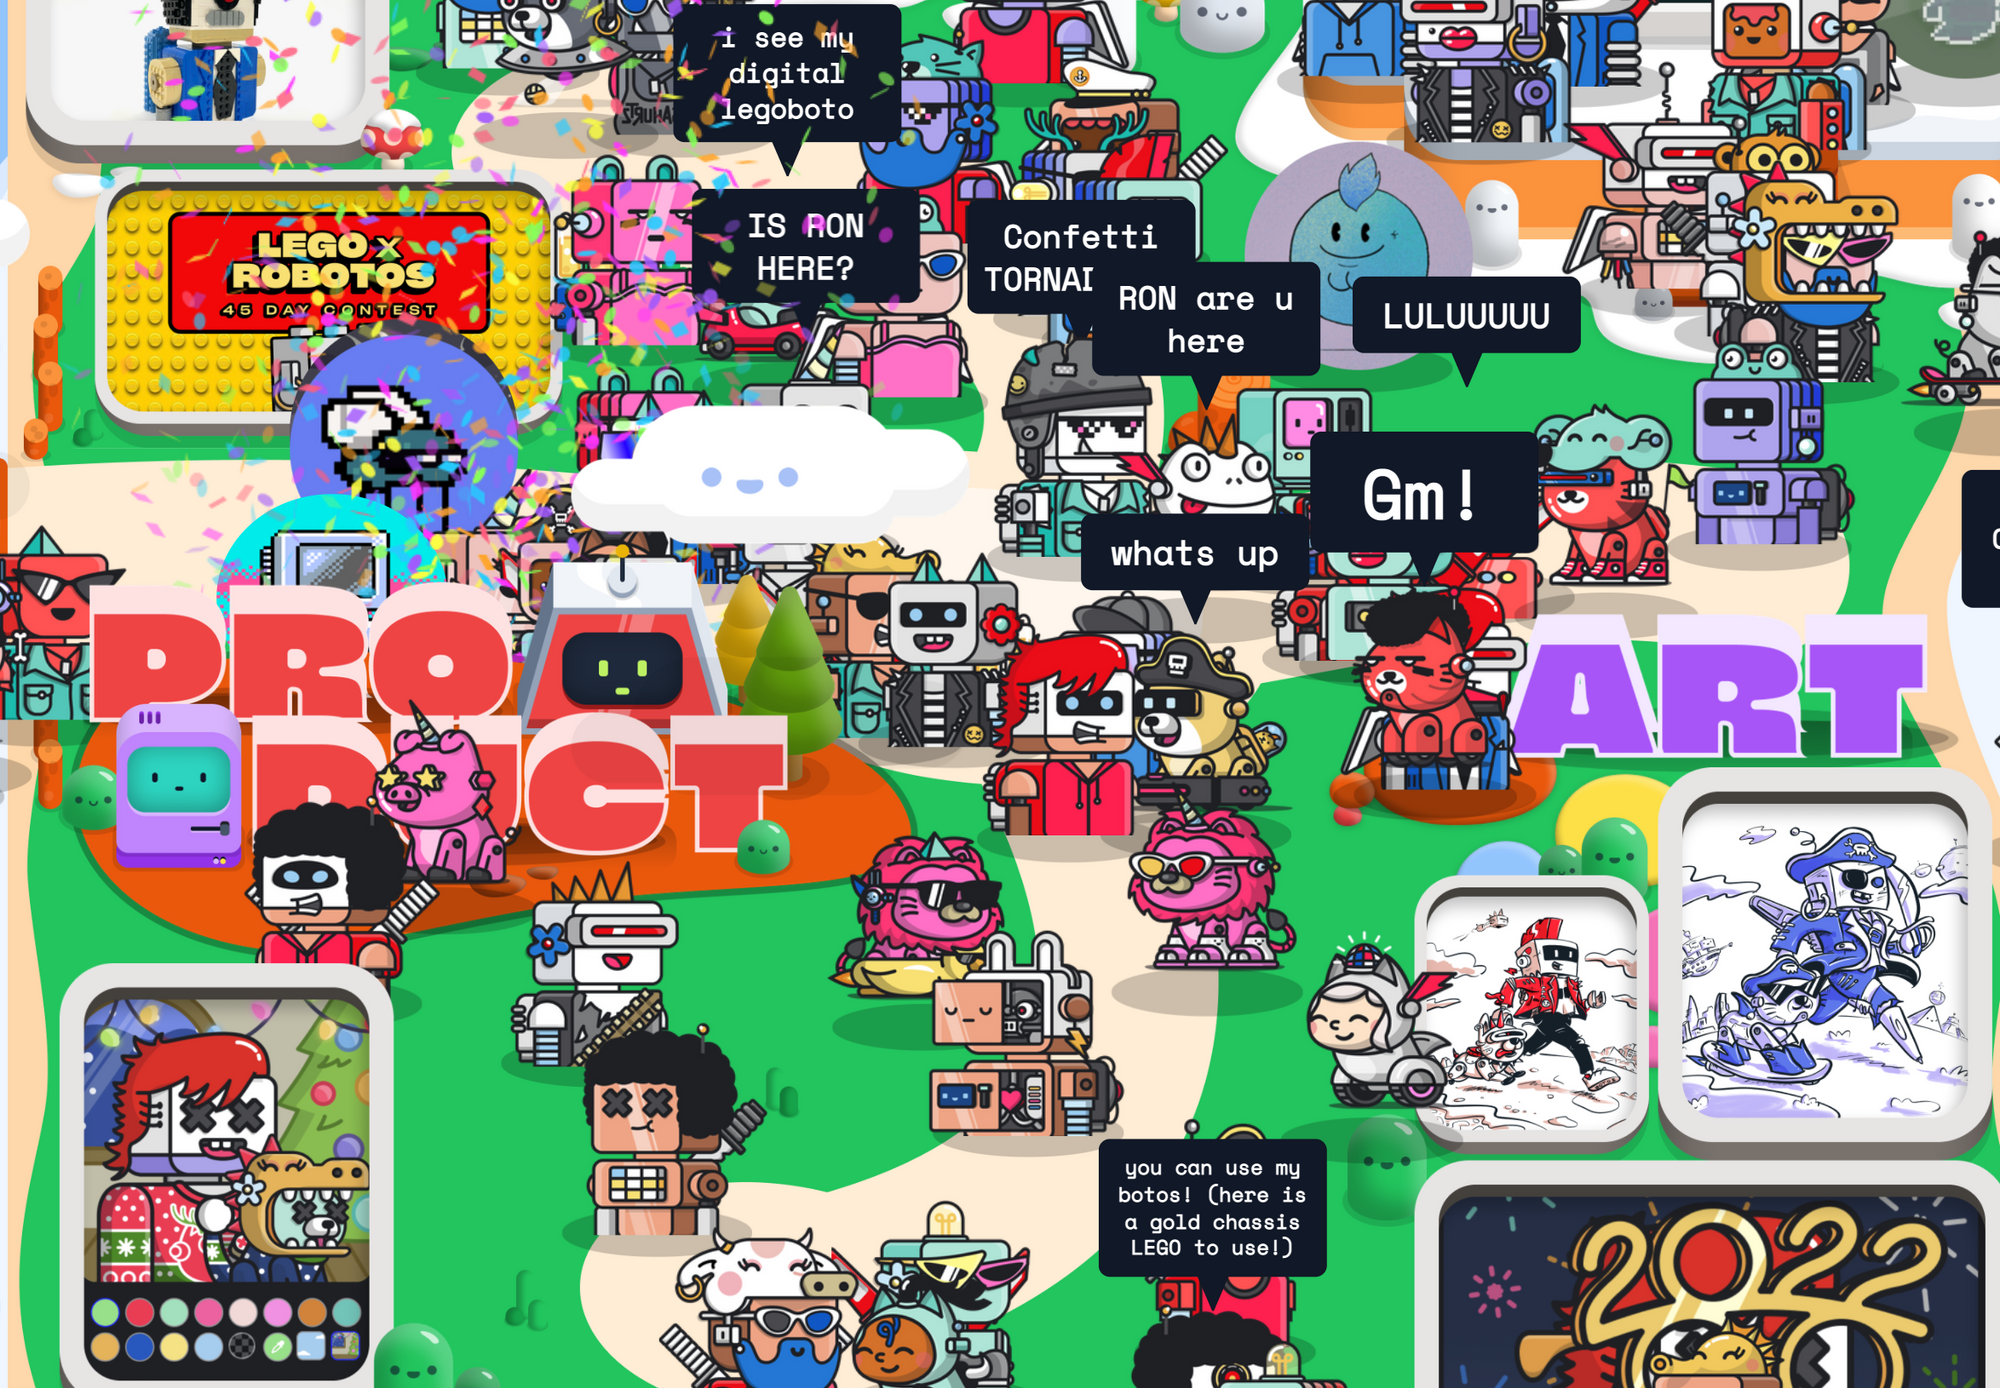
Lastly, you’ll want to keep your eyes on the Microverse, which is a “world builder tool” that will allow Bueno users to design 2D multiplayer spaces where “all NFTs are welcome.”
Action steps
- 🎨 Check out Bueno and its docs
- 🌜🌞🌛 Read my previous write-up What’s new with Zora if you missed it!
Author Bio
William M. Peaster is a professional writer and creator of Metaversal—a Bankless newsletter focused on the emergence of NFTs in the cryptoeconomy. He’s also recently been contributing content to Bankless, JPG, and beyond!
Subscribe to Bankless. $22 per mo. Includes archive access, Inner Circle & Badge.
🙏Thanks to our sponsor
NEXO
Nexo follows a robust business model that safeguards your crypto in all market conditions. The company’s strict overcollateralization policy makes it the go-to platform to safely borrow against your crypto. You can also buy or exchange 40+ assets and earn daily compounding interest.
Not financial or tax advice. This newsletter is strictly educational and is not investment advice or a solicitation to buy or sell any assets or to make any financial decisions. This newsletter is not tax advice. Talk to your accountant. Do your own research.
Disclosure. From time-to-time I may add links in this newsletter to products I use. I may receive commission if you make a purchase through one of these links. Additionally, the Bankless writers hold crypto assets. See our investment disclosures here.
