Dear Bankless Nation,
Maybe you’re an independent artist looking to set up a bespoke hub for your cryptoart, or maybe you’re steering a Web3 record label and want a sleek platform multiple artists can contribute through.
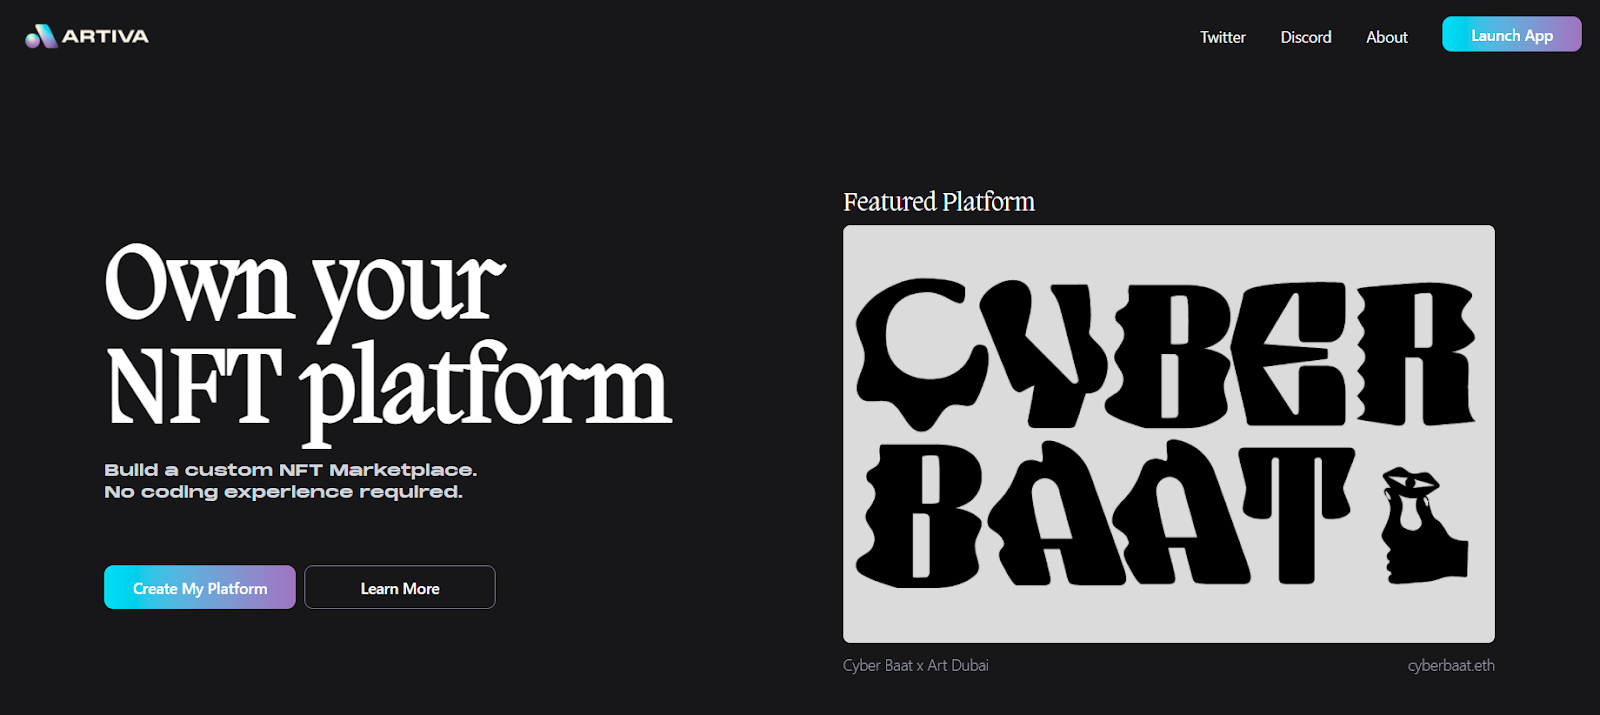
Whatever your creative needs, Artiva is an interesting “do it yourself” site builder that makes it possible to quickly create your own NFT platform.
The service is for projects small or large, and its no-code UX greatly streamlines the building process. For this Metaversal, let’s walk you dreamers and doers through the basics of creating your own NFT platform via Artiva!
-WMP
Making an NFT platform with Artiva

The Artiva 101
Built on top of the Zora NFT protocol, Artiva is a DIY site builder that lets creators or curators construct an NFT platform in minutes. Regarding Artiva’s appeal to these audiences, the project’s team explains in their FAQ:
“For artists we help you escape the noise of big platforms and build a home for your artwork. So much attention has been focused on the artworks themselves but your platform can help create a cohesive vision for a collection. Its the glue that holds everything together.
As a curator Artiva let’s you create an NFT platform and onboard artists in minutes. Build a brand around your platform and watch your community grow! You can also set platform fees to get rewarded for your hard work.”
Accordingly, Artiva users can select between a Creator Mode or a Curator Mode when building their platforms. Per the Artiva website:
“In creator mode artists can mint artworks through your platform with no fees. Artworks can also be imported from Zora. This mode is best for individuals or small groups.
In curator mode artists must request artworks they want listed on your platform. You can also take a platform fee for any artworks you sell. This mode is best for larger groups such as record labels, galleries, marketplaces or DAOs.”
How to create your own NFT platform

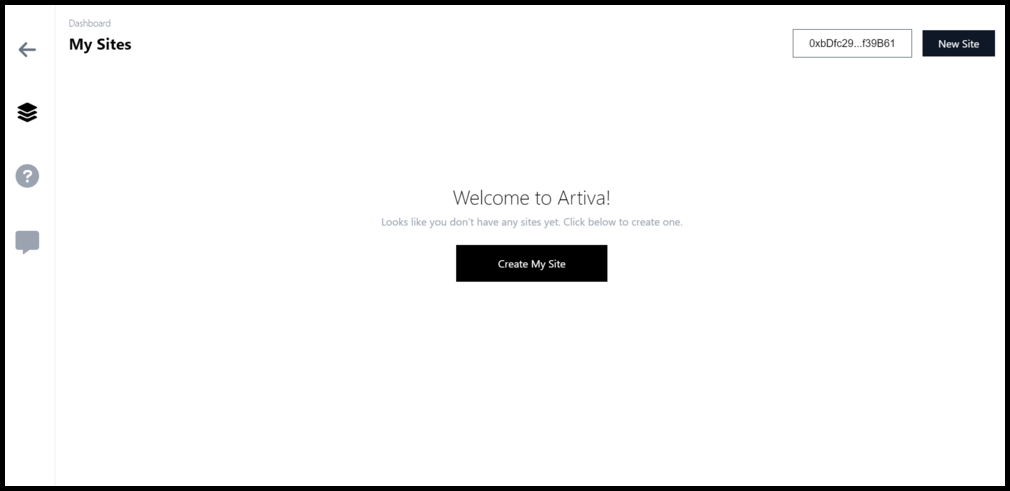
Go to artiva.app/dashboard
Click the Connect button and sign the login transaction with your Ethereum wallet. MetaMask, WalletConnect, and Coinbase Wallet are currently supported.
Next press the Create My Site button in the center of the app.
Set up your site’s custom branding by supplying a logo, title, description, and url name. When you’re done press Continue.

Image via artiva.app Select between Creator Mode or Curator Mode. Note: if you pick Curator Mode you have to set your Platform Fee Percentage, i.e. the “percentage fee your platform takes when an artwork is sold.”
On the next page, use the UI to input the Ethereum addresses of any additional owners/curators (depending on the mode you’ve chosen) or artists you want to add to your platform. Press Finish when you’re done.
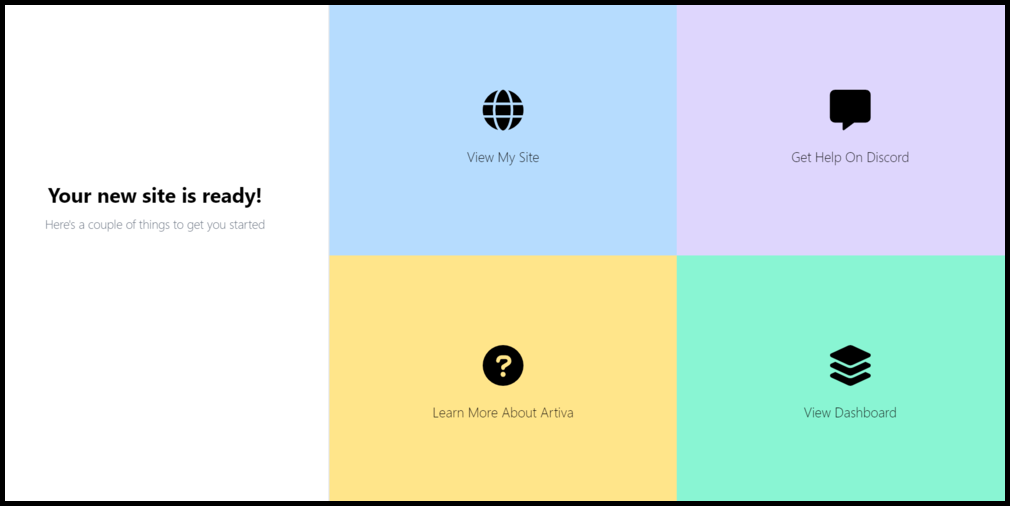
Voila! Your new DIY NFT platform is now ready for action.

Image via artiva.app If you’re using Creator Mode you can finish up by importing or minting your first NFTs.
Click on the View My Site button and login to Artiva again. Afterwards select from Import Artworks (to import pieces directly from your wallet) or Enter Designer (to mint via Artiva).
If you’re using Curator Mode you can finish up by requesting or accepting your first auctions.
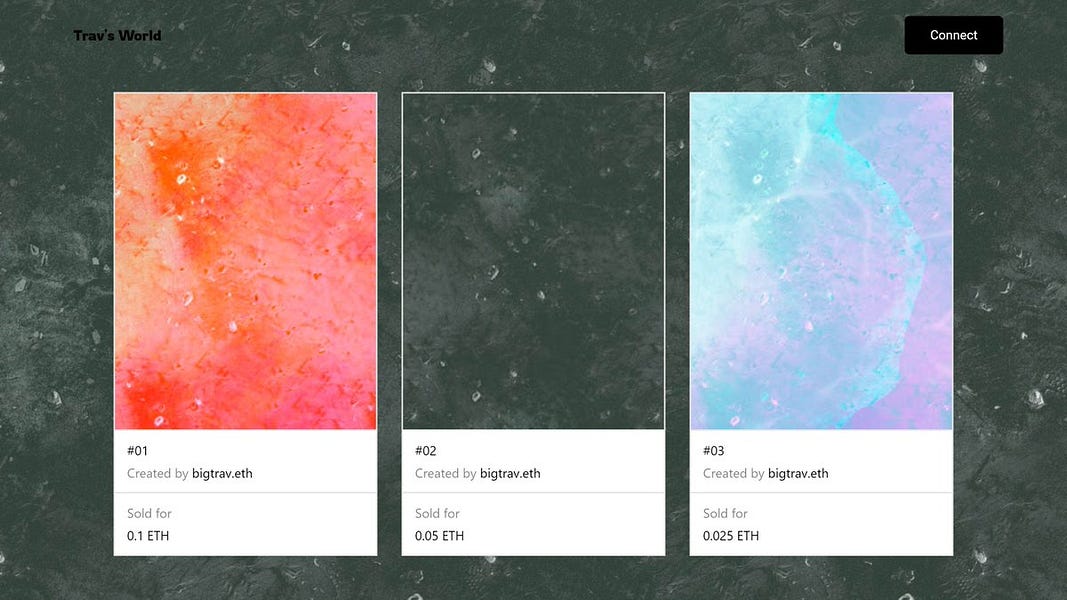
To get a feel for the platforms that have already been built through Artiva, check out this Created Platforms list. The Artiva Twitter account also routinely highlights the project’s users, like !BIGtrav:
Looking ahead
“Currently customization is a big focus for us in the coming months,” the Artiva Info Center notes. “In the future we’d like to enable custom interactions with your art like limiting site access to specific NFT / token holders and NFT backed crowdfunding / fractional ownership.”
Action steps
- 🔭 Check out artiva.app
- 🆕 Check out my previous write-up Discover new NFTs: Finiliar if you missed it!
