Ethereum Hardware Wallets, Simplified: Burner Cards
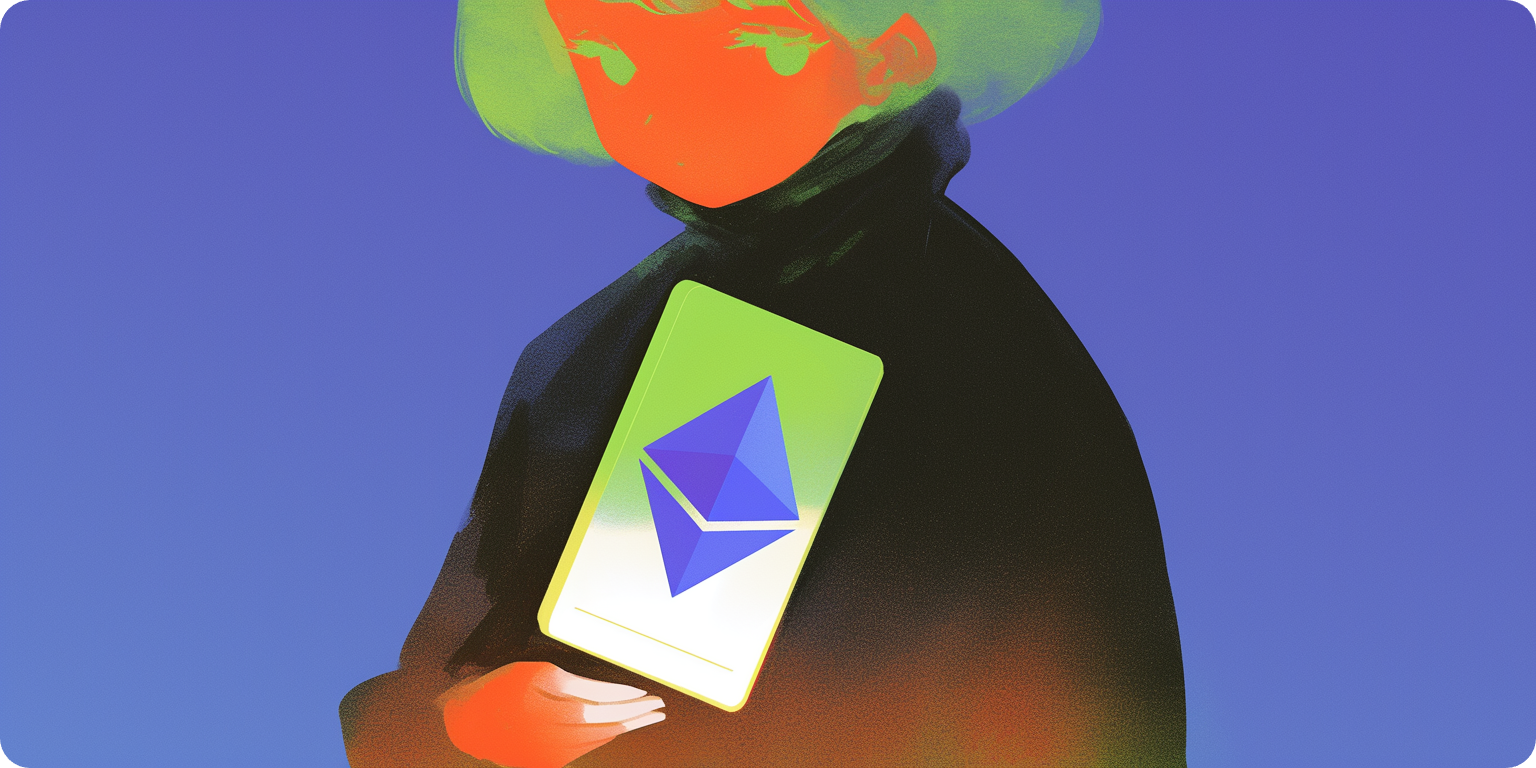
I've tried lots of hardware wallets over the years. So when I first heard about Burner's cards, my curiosity was piqued. It's a different form factor compared to what I've tried before. And this week I finally got my first order of cards to try them out.
By now, you likely know the basics of hardware wallets vs. hot wallets. The former are more secure against hacks because your private keys in these devices stay offline at all times.
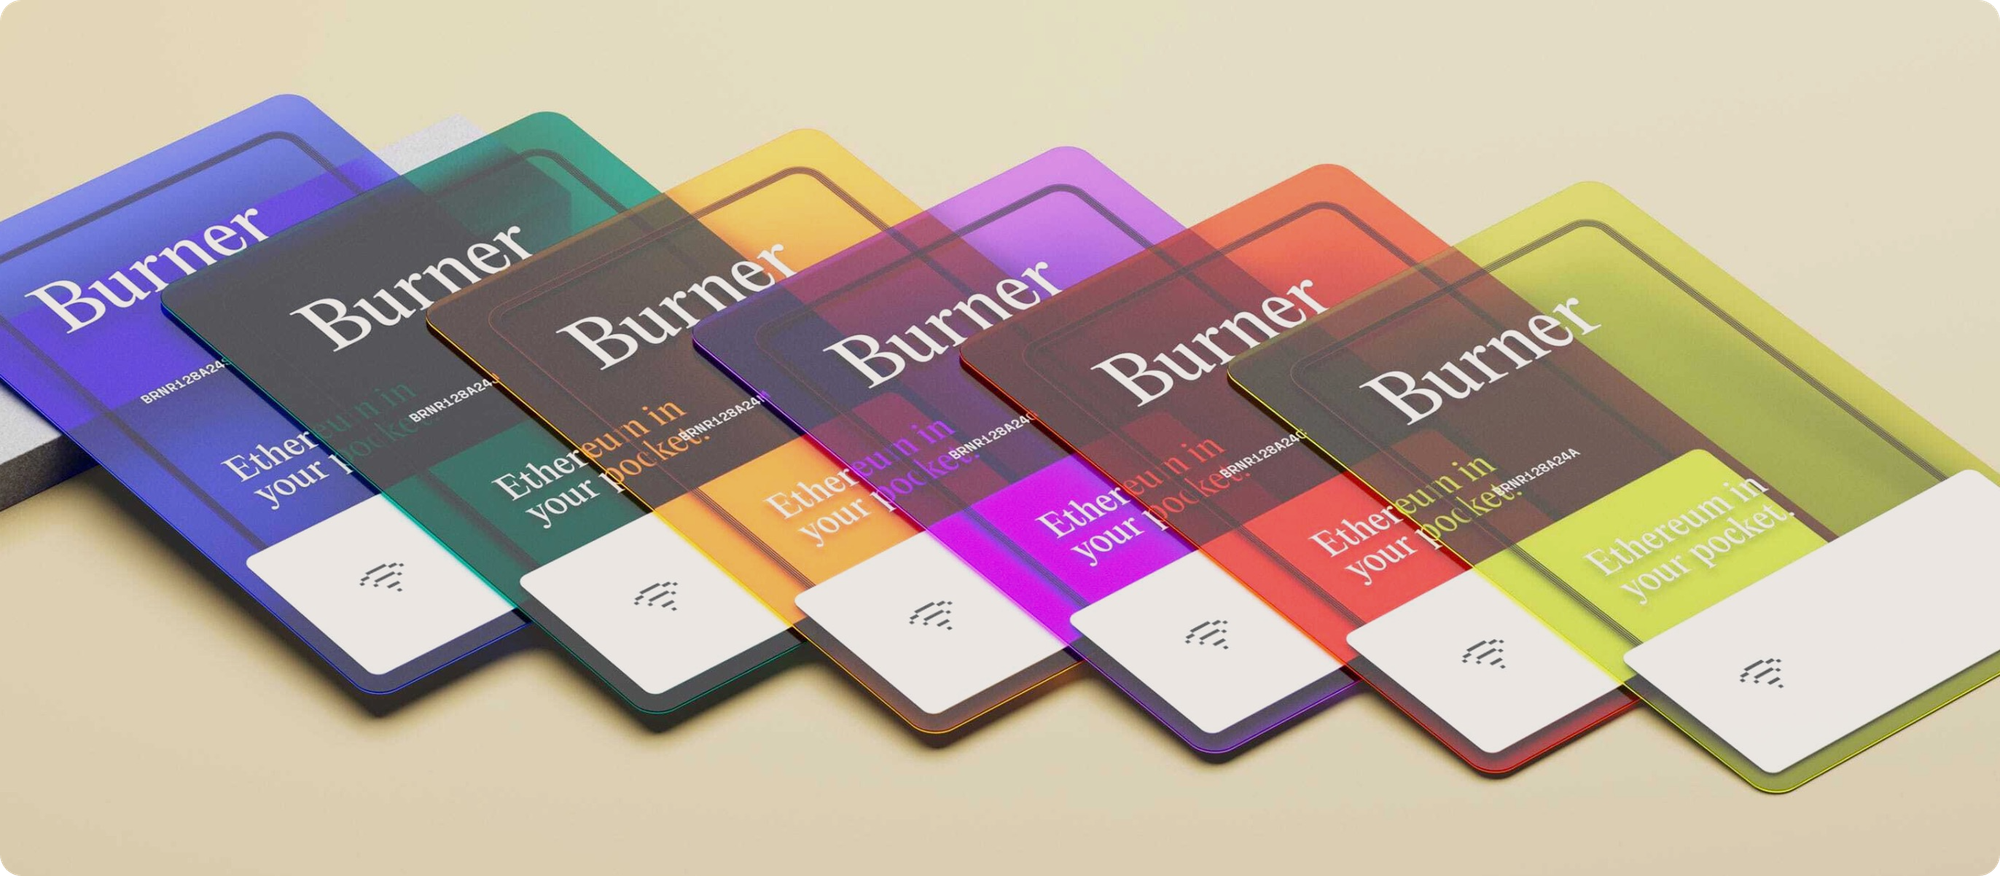
Burner cards work like this. But they're also notably streamlined in various ways compared to other popular hardware wallets like Ledgers and Trezors.
For example, onboarding takes seconds thanks to NFC tech. You just tap your card against your smartphone to activate the BurnerOS web UI, so there's no need to download any apps or keep up with firmware updates.
Additionally, Burner cards eschew seed phrases. You don't have to worry about writing down and safely storing a long phrase because authentication is done through a PIN code instead.
This simplicity makes Burners great as 1) lightweight personal hardware wallets, or 2) disposable crypto gift cards. During onboarding you just select whether you want to set up as a wallet or a gift card.
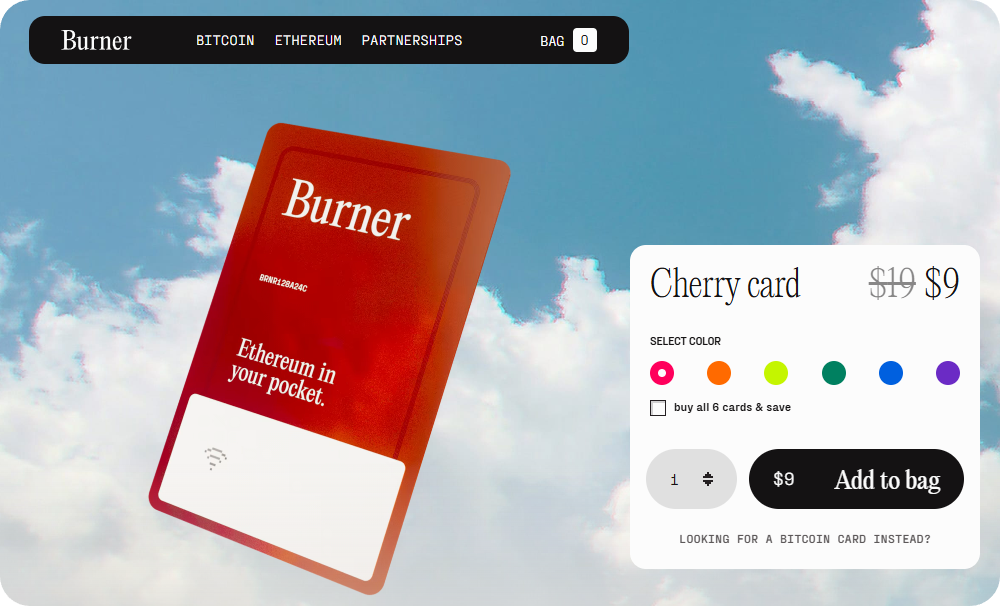
I say "disposable" because of affordability. Right now, both the Ethereum and Bitcoin edition cards are $9 a pop, so they're about 1/9th the price of Ledger's popular Nano S Plus model.
That said, I'm going to try the gift card functionality sometime later. But setting up a Burner wallet as a personal wallet is very simple. You'd follow these steps:
- Use your phone to scan the QR code on the back of your card. Doing this will bring up the BurnerOS website in your browser.
- Press "Get Started." You'll be prompted to tap your card against the back of your phone to establish an NFC connection. You may have to activate NFC support in your phone settings first.
- Select the "Setup as a Wallet" option. This will bring you to the key generation page. Here you can optionally add a phrase to affect the randomness of your key. Press "Generate Key" to continue.
- Confirm your key. You'll be asked to tap your card against the back of your phone again to confirm the key that was generated.
- Create your PIN code. Enter a custom 6-digit code twice. You'll use this code to secure your card, so make sure it's something you'll remember or write down and store a backup somewhere safe. When prompted, tap your card against your phone again to complete this step.
- Name your wallet. Now you'll be asked to input a name for your card and given the option to set a .brnr.eth ENS subname. Press "Set name and finish" and tap your card to your phone one last time to finalize onboarding.
Once you've followed through with these steps, you'll be brought to your Burner wallet dashboard. It'll look like this:
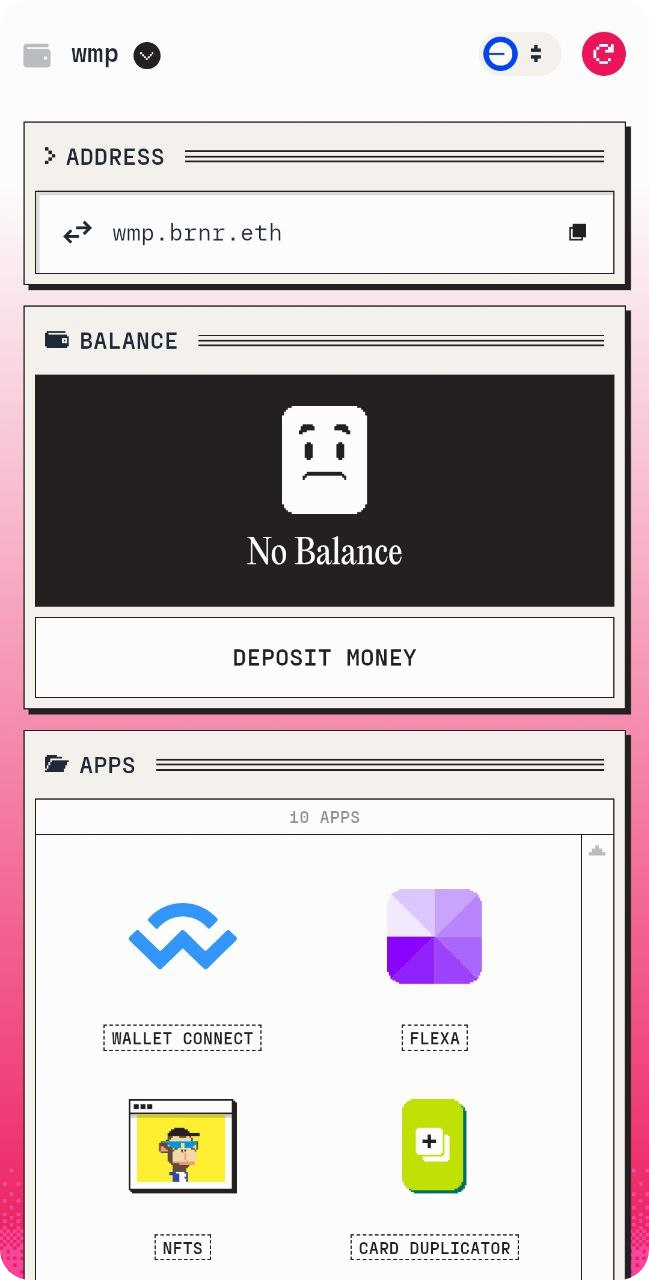
At this point, you can use the "Deposit Money" button to load your card from Coinbase, debit card, or through a simple transfer from another wallet. Ethereum and Base are supported for now. Get some funds in, and voila! That's all it takes to load and start using a Burner card.
If you want to put your card into action by using it with popular onchain apps, e.g. DeFi and NFT platforms, press the "WalletConnect" option when signing into your target app and then use the "WalletConnect" button in your Burner "Apps" dashboard to scan the provided QR code. This will log you in via your Burner address.
There are some other cool features in this "Apps" dashboard too. The Flexa integration lets you pay with your Burner at any IRL retailers that support Flexa payments, the Card Duplicator lets you clone your current Burner address onto a new card, etc.
All in all, this is a pretty neat wallet system, and at $9 each it's low stakes to try one out. Even if you already have a hardware wallet, these can be nice lightweight additions to your stack.
For instance, let's say you're going on a trip, and you don't want to bring your Ledgers with you but you still want to some crypto handy for simple card tap payments where possible. Load a Burner wallet, slide the card in your physical wallet, and you'd be good to go. It's a new way to bring Ethereum to your pocket, so keep it on your radar!