Dear Bankless Nation,
Earlier this month I wrote about the arrival of the ENS Name Wrapper system, which allows users to turn subdomains into NFTs for greater flexibility.
Now I’m pointing your attention back to ENS, this time because the premier web3 username service just released its new ENS Manager App, i.e. the main interface for setting up your .eth addresses, organizing wrapped names, and beyond.
For today’s post, let’s walk through the basics of this new look app to get you up to speed on everything you need to know!
-WMP
The New ENS Manager App Is Here 🎉
What’s new?
In a recent Twitter thread, dr3a.eth did a great job summarizing the main improvements to the new ENS Manager App, such as: • An update from the “Registrant” and “Controller” jargon to the more casual “Owner” and “Manager” terms.
• A new info tab next to the wallet “Connect” button filled with valuable governance and support resources, plus a link to the old ENS App.
• A MoonPay integration that allows users to buy and renew ENS domains via fiat payments.
• Easier name registration and avatar setting flows.
• A new official “Profile” tab that lets users readily customize their profile info and records.
• And, last but not least, a new Name Wrapper interface for easily wrapping and unwrapping names.
How to get started
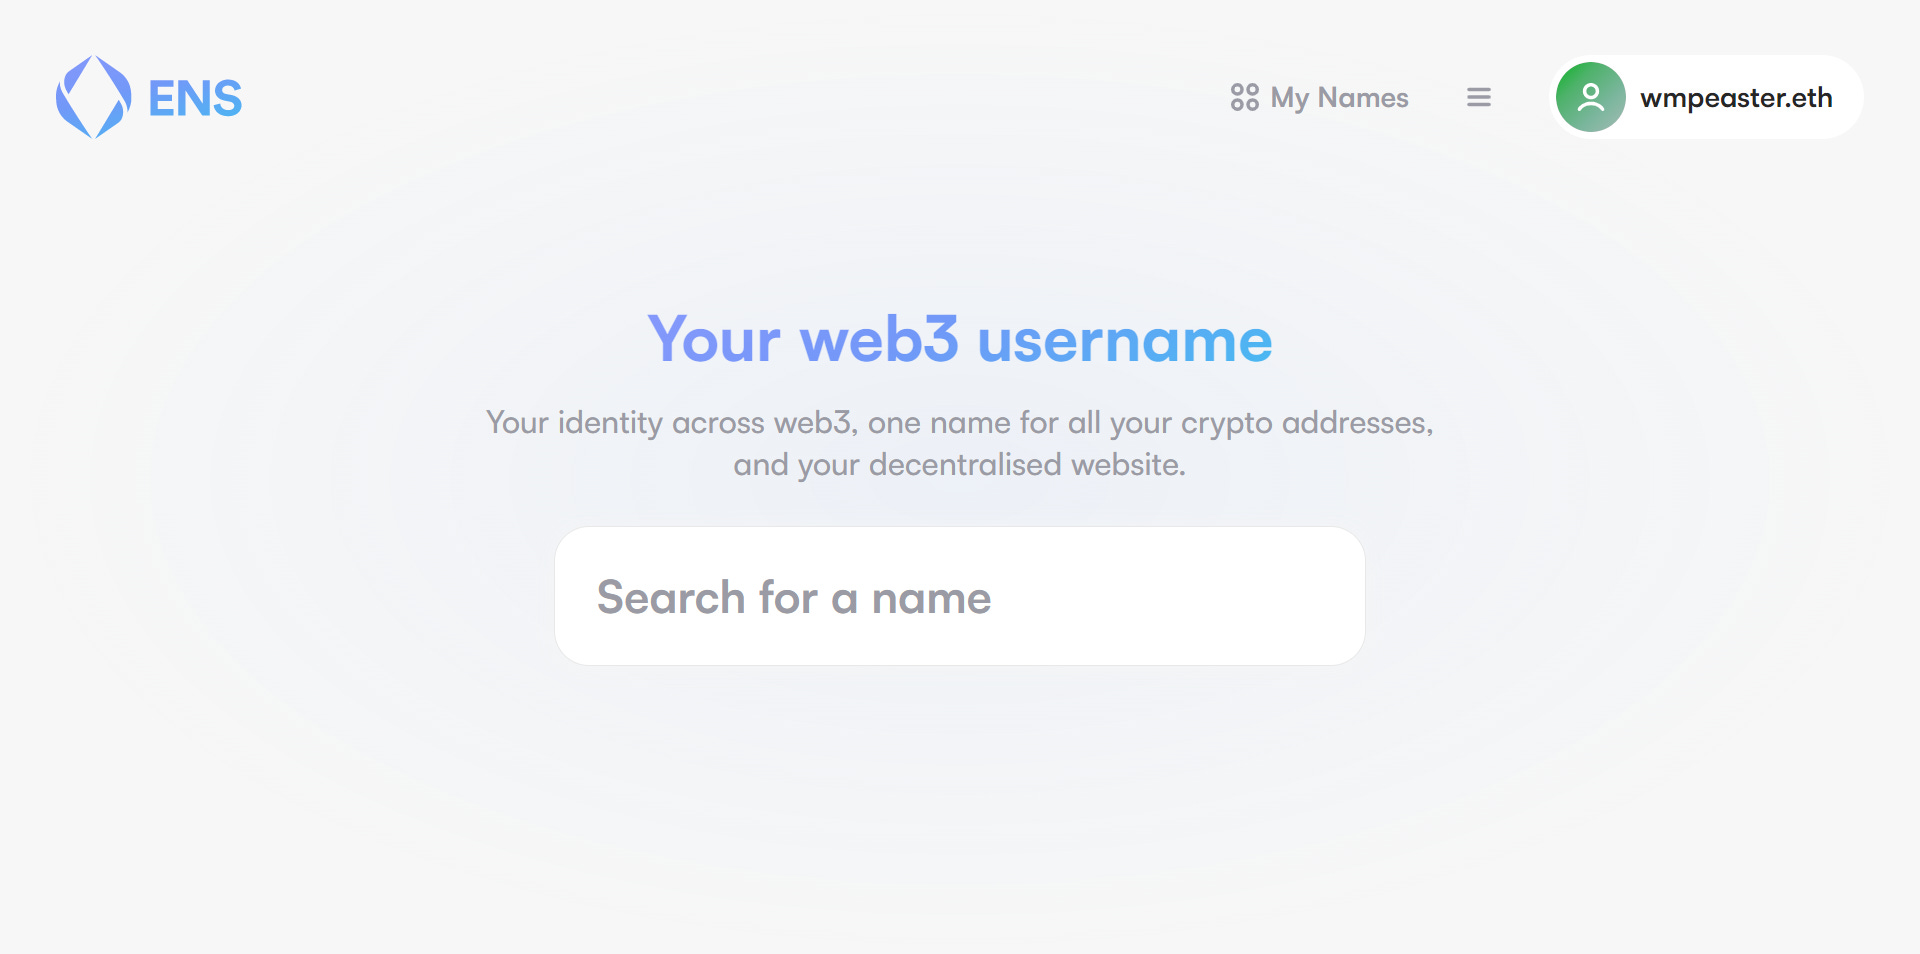
To begin you would head over to app.ens.domains and use the “Connect” button in the upper right side of the page to connect your wallet of choice.
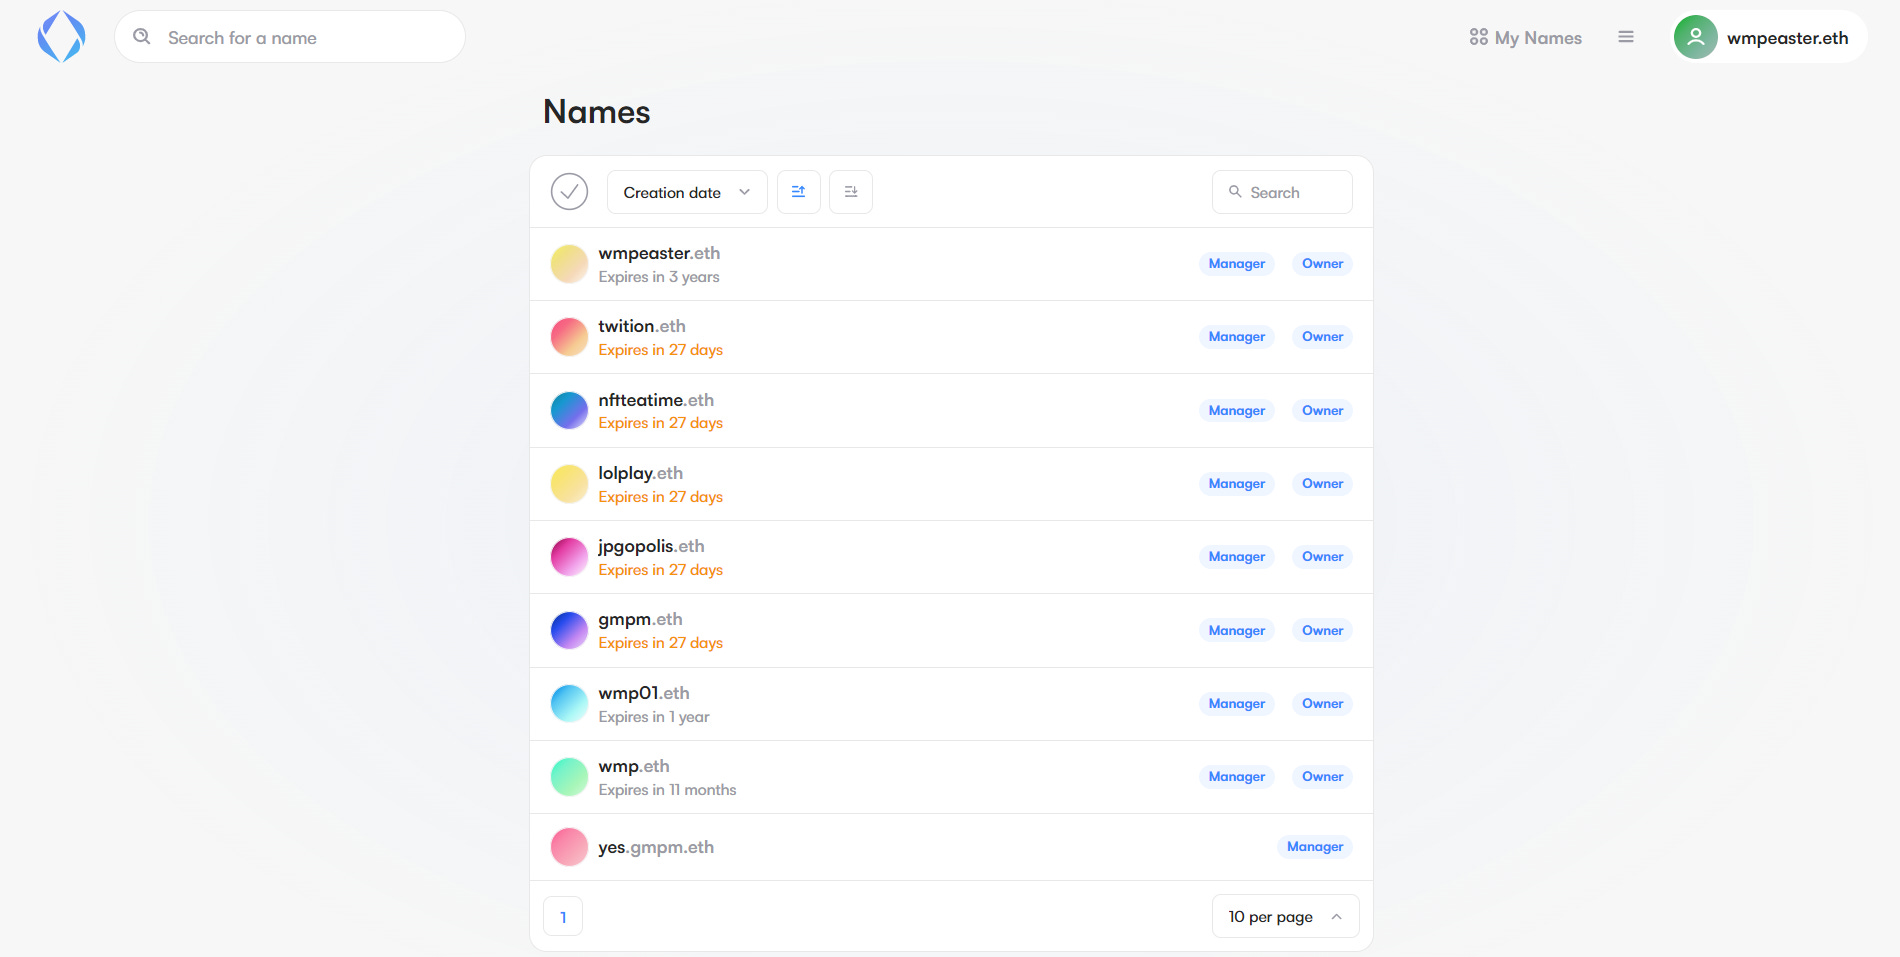
At this point, you can start registering new names or click on the “My Names” tab to be taken to a sortable list of the ENS names and subnames you already have registered to your address.
As you can see below, this dashboard will give you a snapshot of when your names are set to expire and also their “Manager” and/or “Owner” status. For example, the yes.gmpm.eth subname below only displays “Manager” status precisely because it’s a subname.
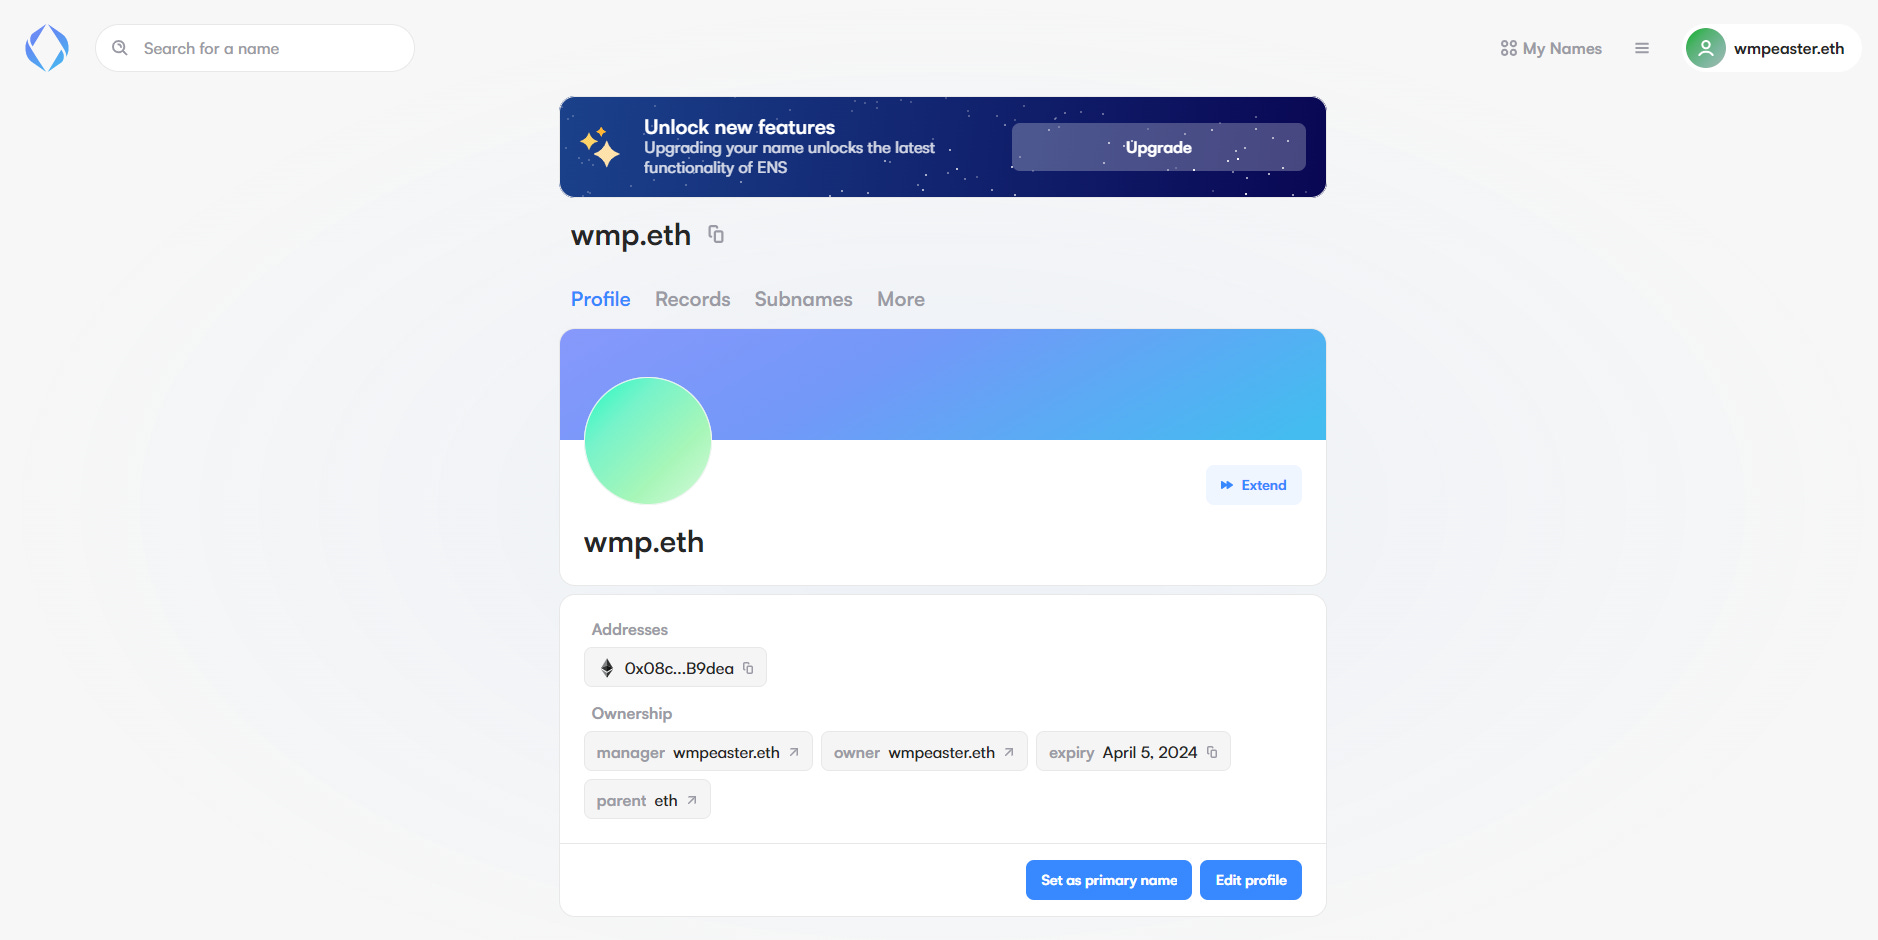
Click on a specific name to be taken to its dashboard, where you can set it as your primary name, edit your profile and records, manage your subnames and permissions, and more. Also, if you haven’t previously wrapped your ENS name, you’ll see the banner at the top of the dashboard where you can upgrade into the new system.
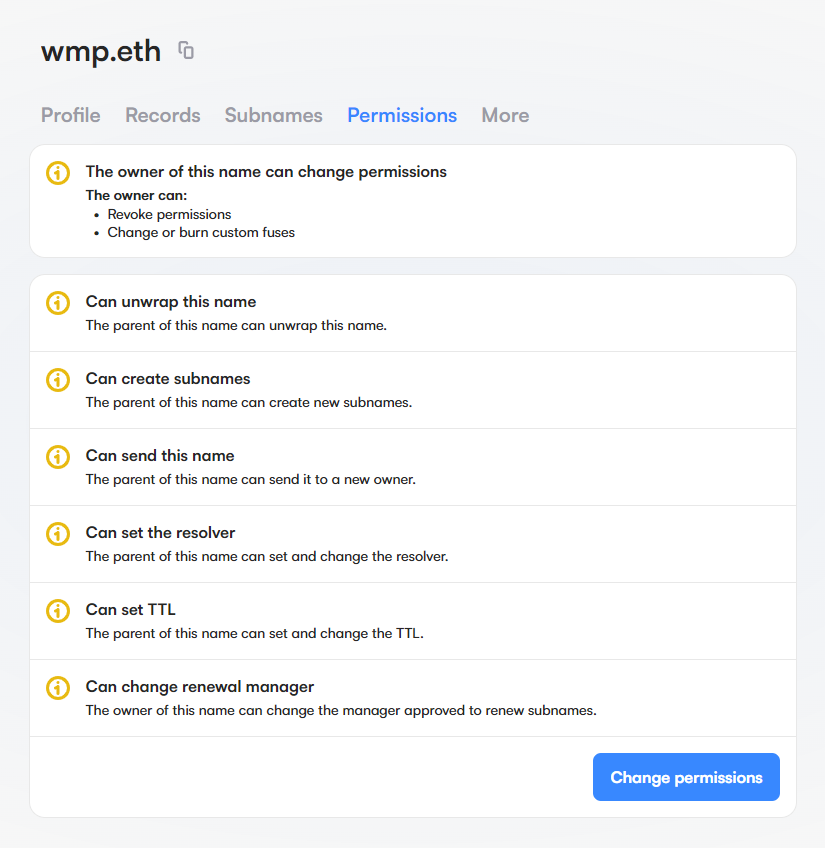
Once you’ve upgraded a name, you’ll see a new “Permissions” tab in the dashboard where you can modify its high-level abilities. This is an advanced section that most users will never need to bother with, so feel free to skip over it entirely until you have a strong grasp of the new Name Wrapper system’s terminology and Permissions features.
However, if you simply want to set up some new subnames head over to the “Subnames” tab of the dashboard and press the “+ New subname” button, which will bring up an interface for you to register subnames as you please.
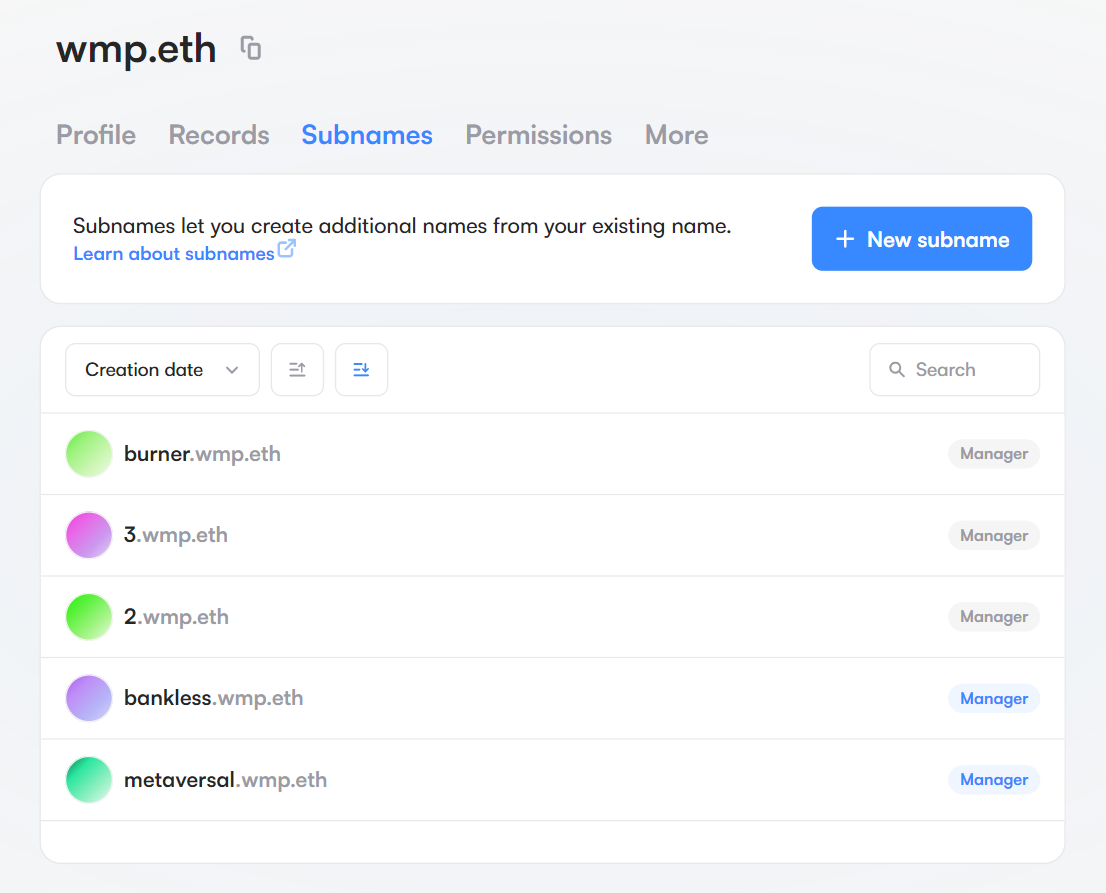
To then transfer a subname and give control to a new owner, click into the subname’s dashboard, go to the “More” tab, and use the “Send” button to transfer the subname to your address of choice!
Understanding your names
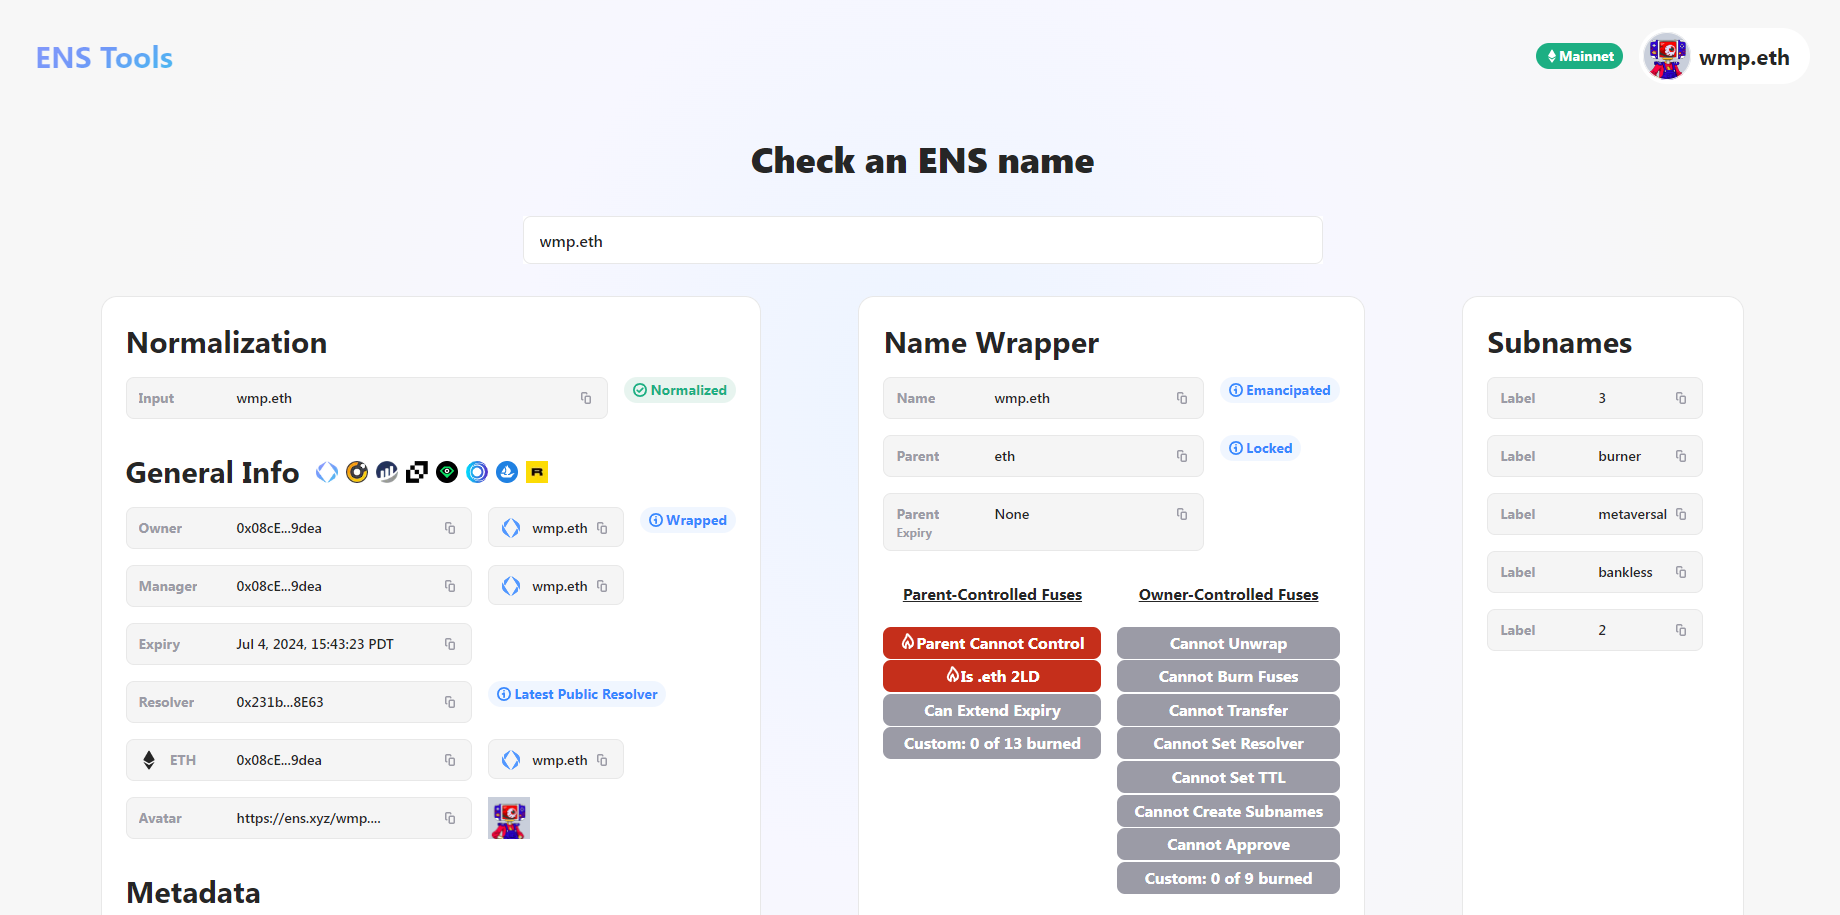
Something you’ll want to keep in mind here is the Name Checker tool developed by serenae.eth. It’s an ENS name visualizer that can help you get a quick bird’s-eye view of the current state of your ENS names, from expiry info to current subnames and beyond. It’s a great resource to use in tandem with the ENS Manager App if you’re trying to get a better feel for the new Name Wrapper processes.
Zooming out
The new ENS Manager App is an awesome tool for those looking to streamline their web3 experiences and make the most of their ENS names through the Name Wrapper system. If you’re still trying to “wrap” your head around the new state of things at ENS, I recommend diving into the ENS support docs and refreshing with my previous ENS Name Wrapper guide!
